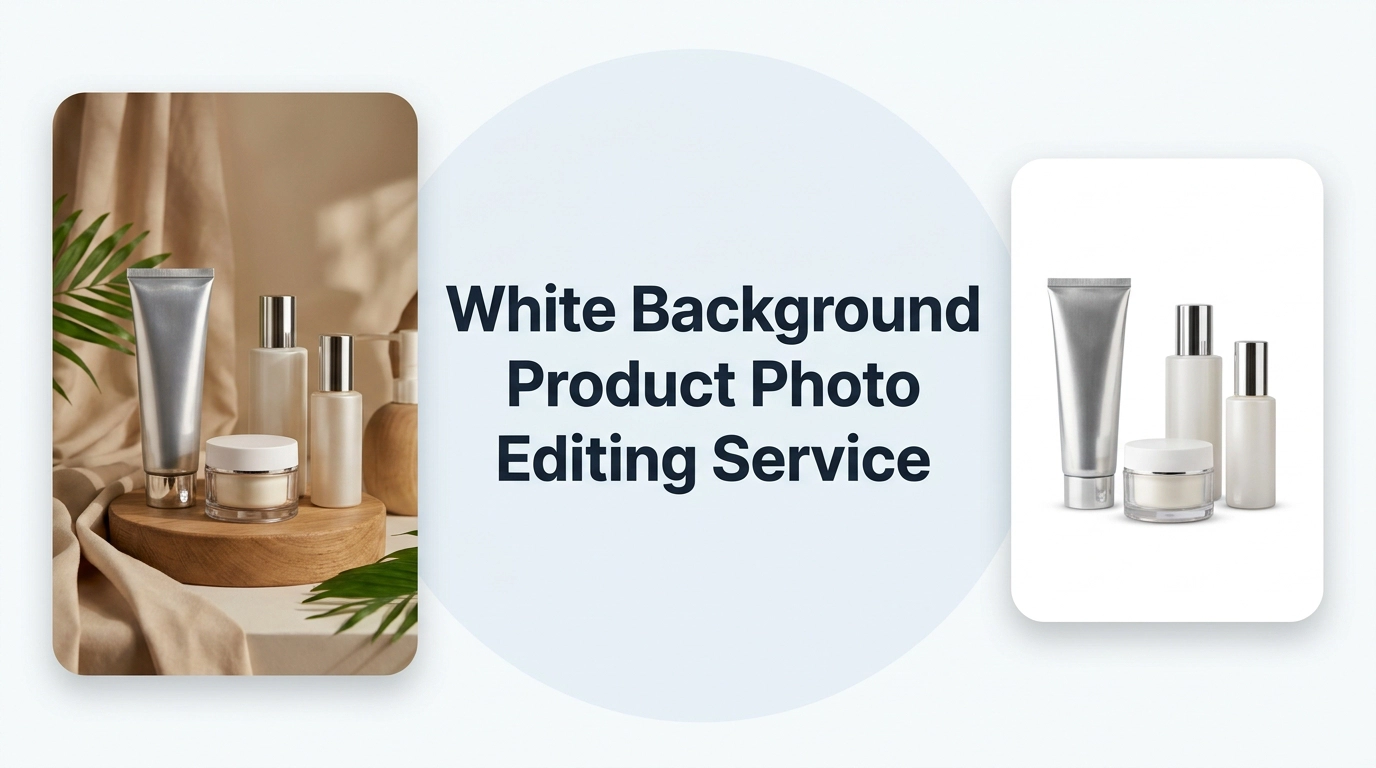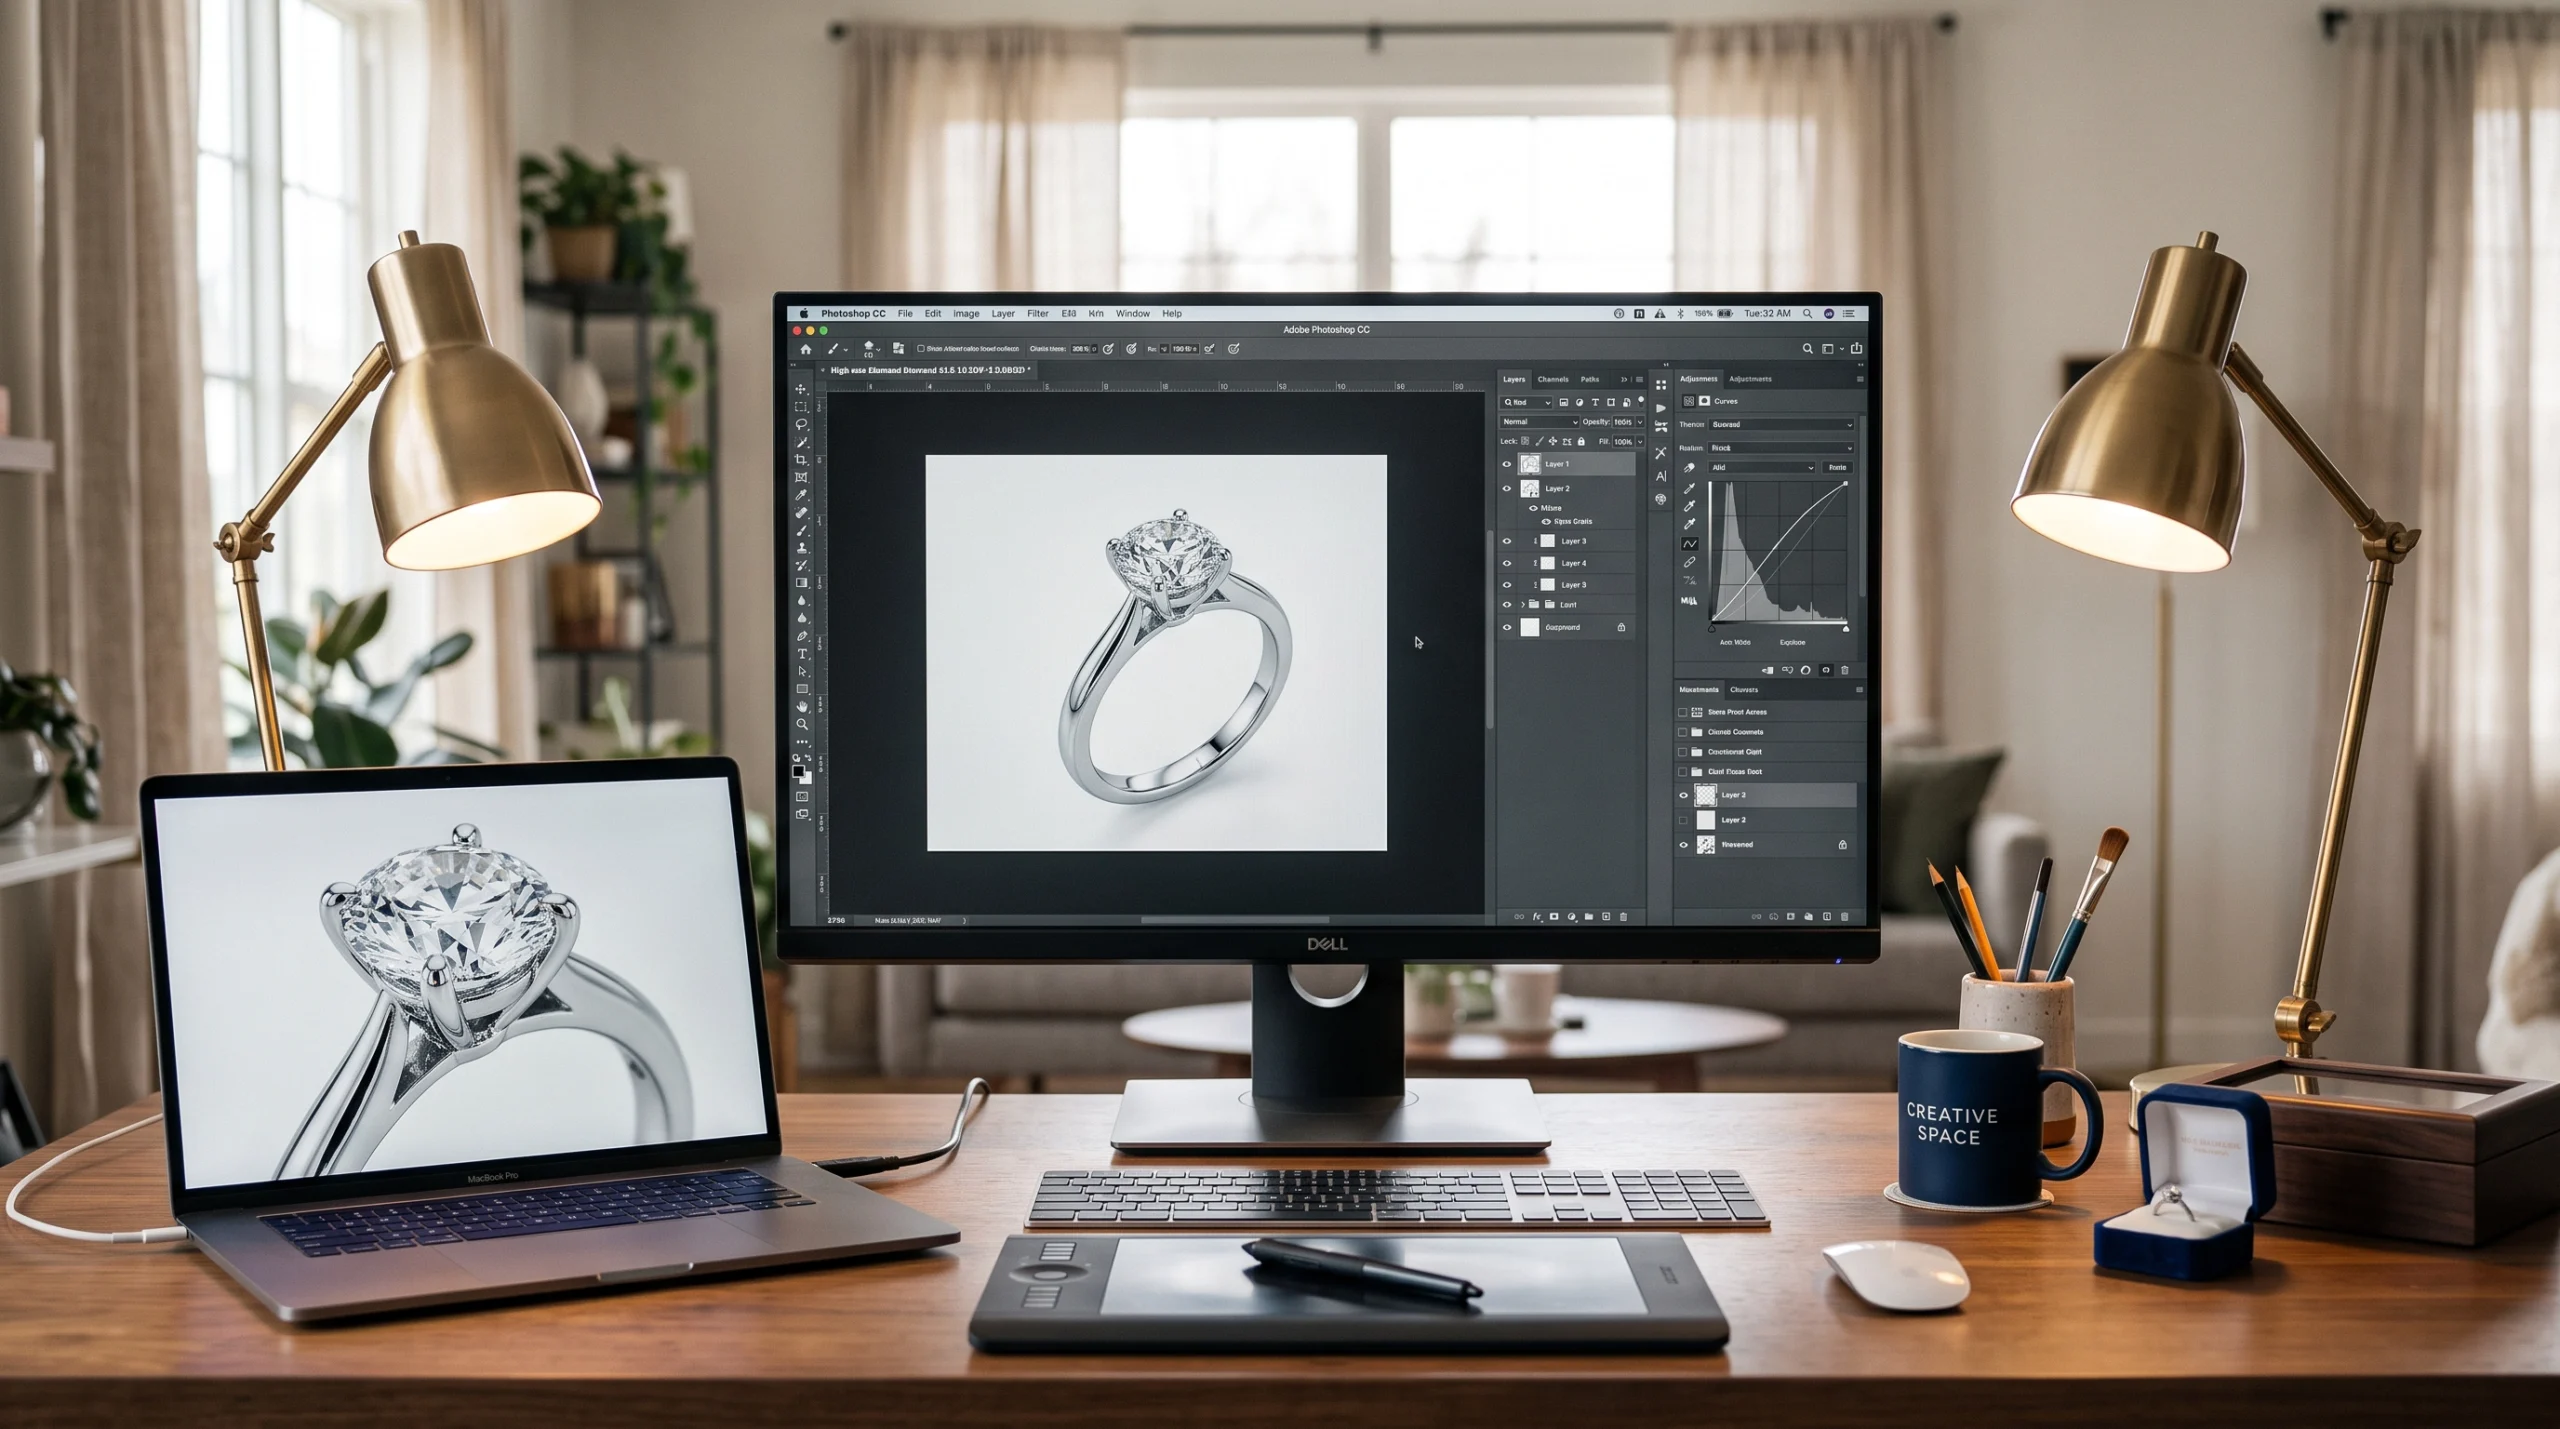
Jewelry Photo Editing for Ecommerce helps transform ordinary product photos into clean, professional images that attract more buyers. The process includes removing dust and scratches, correcting colors, improving brightness, enhancing the shine of metals and gemstones, and creating natural shadows.
High-quality edited images make your jewelry look more appealing while accurately representing the actual product. For ecommerce businesses, clear and consistent product photos build customer trust, strengthen your brand, and encourage more sales. Professional jewelry photo editing ensures every item looks its best across your website, online marketplaces, and social media.
Why Jewelry Photo Editing Matters for Ecommerce
Here’s a straightforward reality: online shoppers cannot pick up your jewelry. They can’t hold it to the light, turn it over in their hands, or feel the weight of a pendant against their fingers. The only thing they have is your image. That image is either doing the selling — or it’s quietly handing the sale to someone else.
Jewelry image editing is the bridge between what a camera captures and what a customer needs to see in order to feel confident buying. Even a well-executed photoshoot will produce images that need work. White balance drifts under studio lights. Reflections show up uninvited on polished surfaces. Background distractions pull attention away from the piece itself. And the natural texture and brilliance of fine metalwork and gemstones rarely survives the journey from three-dimensional object to flat digital file without some careful post-production attention.
The stakes are especially high for jewelry because the price points tend to be higher and the visual expectations tend to be more demanding. A customer spending three hundred dollars, or three thousand, on a piece they’ve never touched is placing a significant amount of trust in your images. Poor ecommerce jewelry photo editing doesn’t just result in fewer conversions. It actively damages that trust and drives returns when the delivered product doesn’t match what the image implied.
Conversely, professional jewelry photo editing has a measurable and direct impact on sales performance. It increases click-through rates on marketplace listings. It reduces cart abandonment by giving customers the visual confidence they need to follow through. And it builds the kind of brand reputation that makes first-time buyers come back.
What You’ll Need Before Editing Jewelry Photos
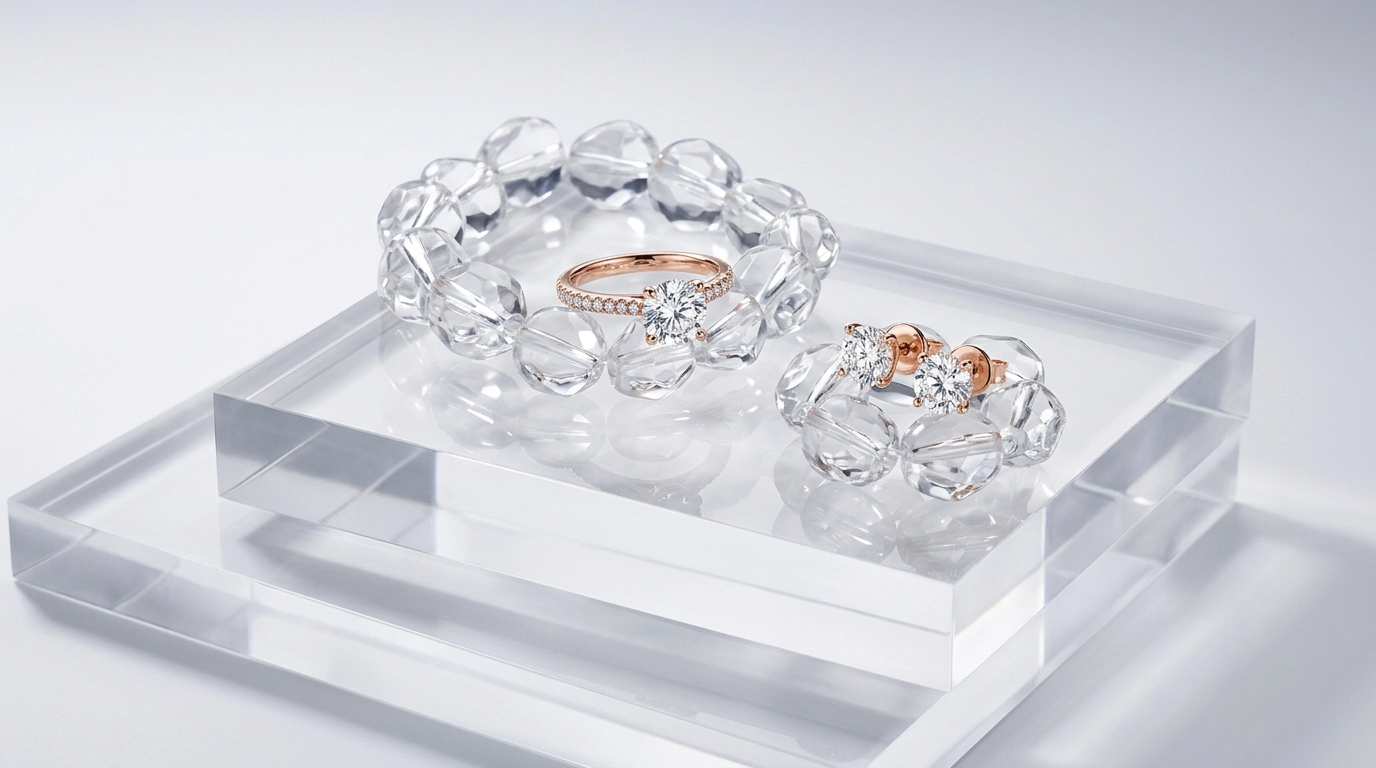
Editing can only work with what the camera gives it. Before touching a single slider or brush, understanding what makes for a strong base image matters enormously.
Shoot RAW, always:
JPEG files discard a significant amount of image data at the point of capture in order to reduce file size. RAW images retain all of it — the full tonal range, the color information, the detail in highlights and shadows. For jewelry photography, where you might need to carefully recover the interior facets of a diamond or bring back the warmth in a rose gold band without introducing color noise, that retained data is essential. RAW files give you the flexibility to correct without degrading.
Use the right glass:
Macro lenses are the standard for jewelry photography for a reason. The fine detail in a piece of jewelry — the individual prongs of a setting, the surface texture of a brushed metal band, the internal color distribution in a gemstone — requires close-focus capability and excellent optical sharpness to resolve properly. A standard zoom lens simply won’t give you the raw detail needed to produce polished, high-resolution ecommerce product images.
Control your lighting environment:
Harsh, directional light creates hot spots on metal and washes out gemstone color. Diffused light — from a lightbox, a softbox setup, or carefully positioned reflectors — gives you softer shadows, more even coverage, and far more manageable reflections in post. Consistency across lighting setups also matters for catalog work, where images need to feel visually unified even when shot across different sessions.
The editing tools you’ll need:
Adobe Photoshop:
Adobe Photoshop is the workhorse for detailed jewelry retouching. Its Pen Tool enables precise clipping paths, its Healing Brush handles dust and scratch removal, its Dodge and Burn tools sculpt light across metal surfaces, and its layer system allows for fully non-destructive editing throughout.
Adobe Lightroom:
Adobe Lightroom handles the earlier stages — RAW processing, white balance correction, exposure and contrast adjustments, and batch processing across large volumes of similar images.
Capture One:
Capture One is a strong alternative to Lightroom, particularly popular with commercial photographers for its superior color grading tools and precise skin tone controls, which translate well to working with warm metal tones.
AI-assisted tools:
AI-assisted tools like background removal plugins and AI sharpening software can accelerate parts of the workflow, though they work best as supplements to human judgment, not replacements for it.
Step 1 – Choose the Best Jewelry Photo
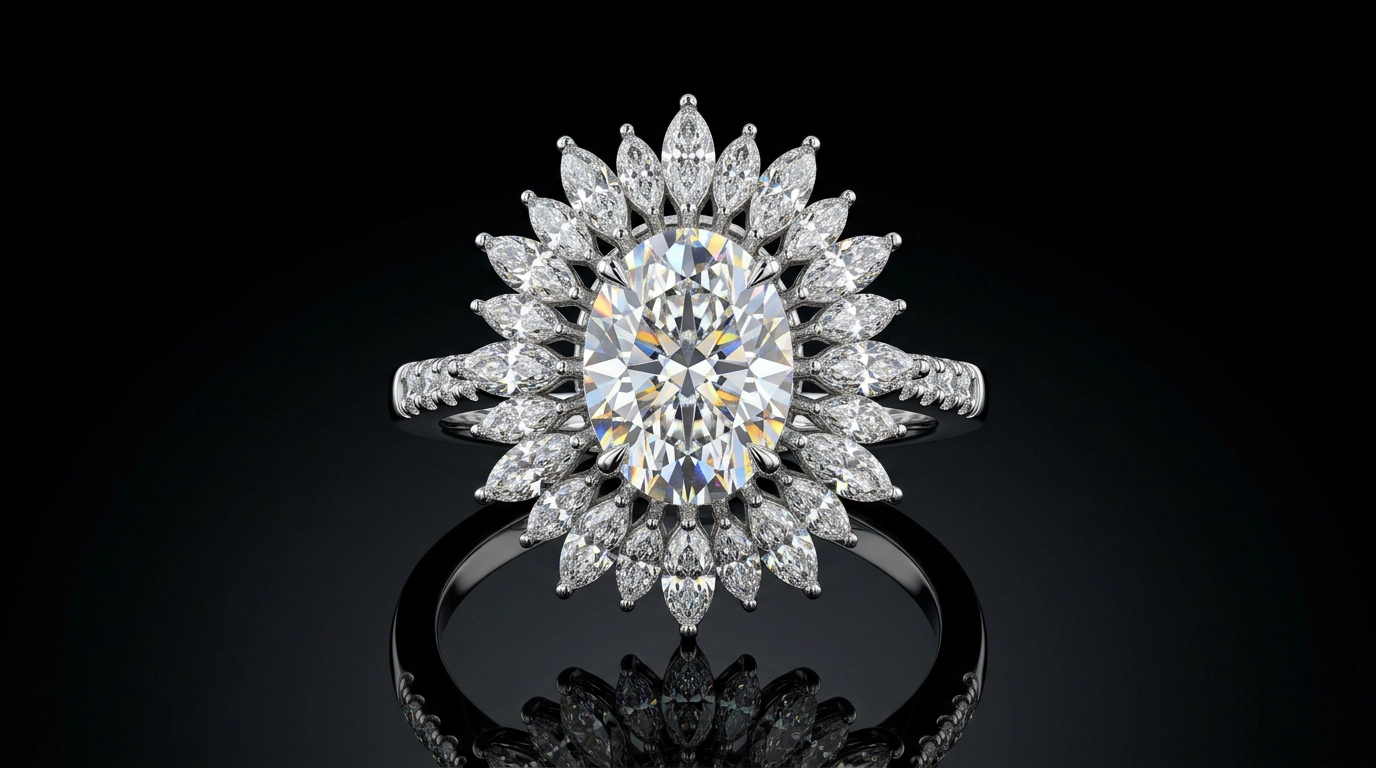
Retouching time is valuable. Spending it on the wrong frame is waste, and waste adds up quickly when you’re managing a large catalog of jewelry product photos. The first real step in any professional editing workflow is selection — identifying which image from a given shoot is actually worth investing in.
For high-resolution ecommerce product images, the selection criteria are specific:
Critical focus on the right area: In most jewelry photography, the eyes go to the stone or the most intricate part of the setting. That area needs to be tack sharp. Soft focus caused by a slightly missed focal plane or camera movement isn’t something retouching can fix — it’s a disqualifier.
Minimal surface contamination: Every dust particle, fingerprint, or surface scratch visible in the image is work. Some of that work is unavoidable and expected. A frame with heavy contamination across the entire surface of the piece is going to cost significantly more editing time than one where the piece was clean at capture. Where two frames are otherwise equivalent, choose the cleaner one.
Color accuracy from the start: The metal tone should read true. Yellow gold shouldn’t look greenish or overly orange. White gold shouldn’t look flat gray. Gemstone colors should reflect what the stone actually looks like. Starting from an accurate base makes color correction a refinement exercise rather than a major overhaul.
Compositional consistency with your catalog: Ecommerce catalogs work best when there’s a visual logic running through them — a consistent angle, a consistent distance from subject, a consistent feel. When selecting images, factor in how they’ll sit alongside the rest of your product range.
Step 2 – Remove the Background+
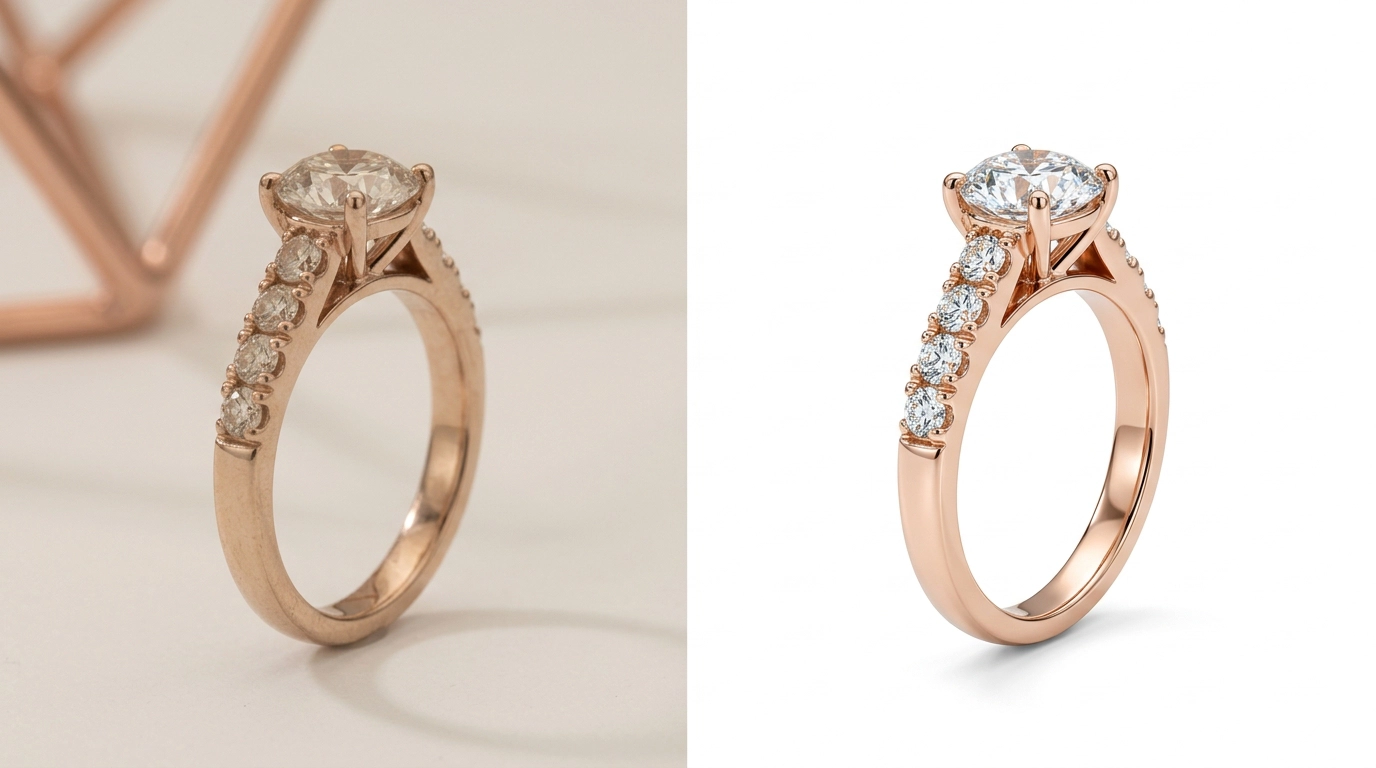
Background removal is one of those steps that looks simple from the outside and reveals its complexity the moment you’re actually doing it on a piece of fine jewelry. A platinum chain, a ring with open metalwork, a bracelet with transparent gemstones — these aren’t shapes you can select with a magic wand and move on. They require precision, patience, and the right technique for the specific subject.
Clipping path:
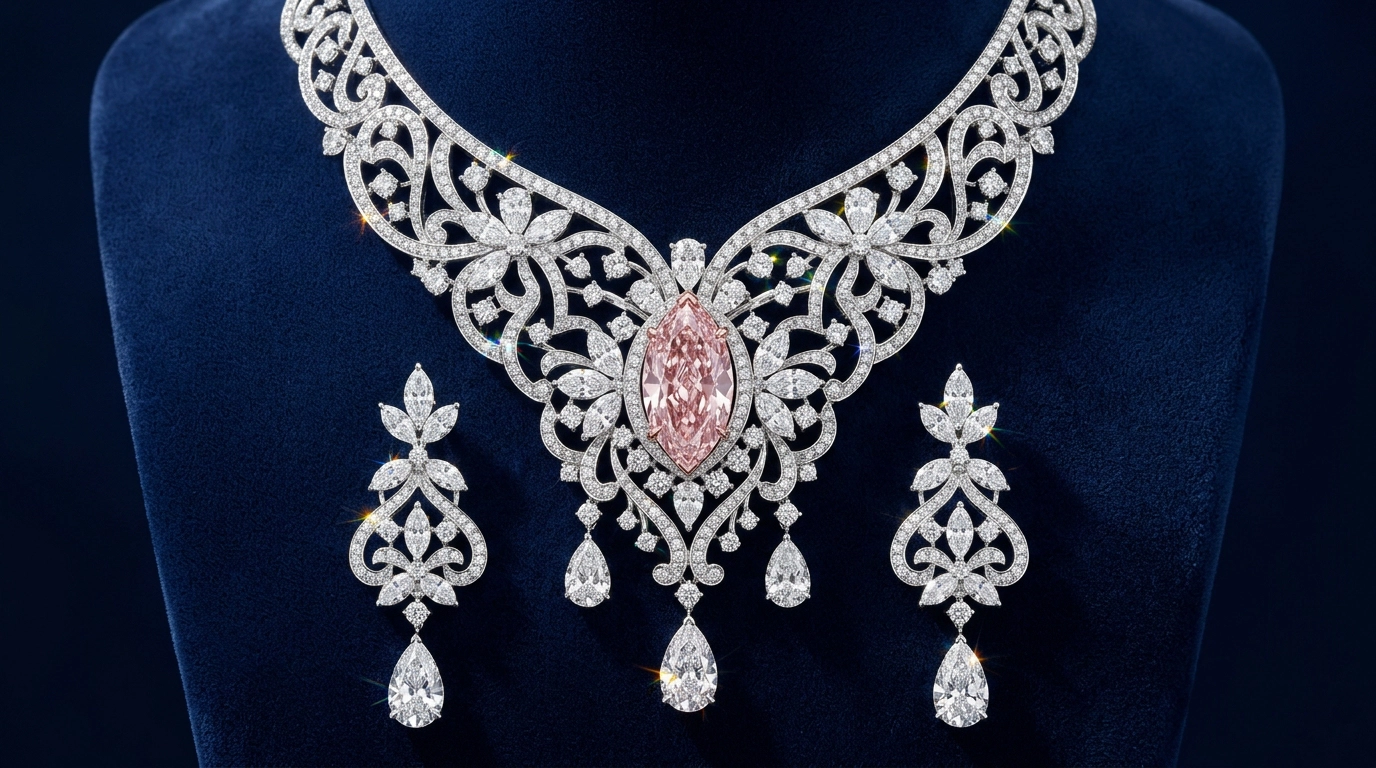
Clipping path is the standard method for jewelry with defined, solid edges. Using Photoshop’s Pen Tool, a retoucher traces the exact outline of the piece and creates a vector path that separates it from the background cleanly. This works well for solid bands, pendants with clear outlines, and other pieces where the edge between subject and background is unambiguous. The result is a hard, clean cutout that looks professional on a white background.
Image masking:
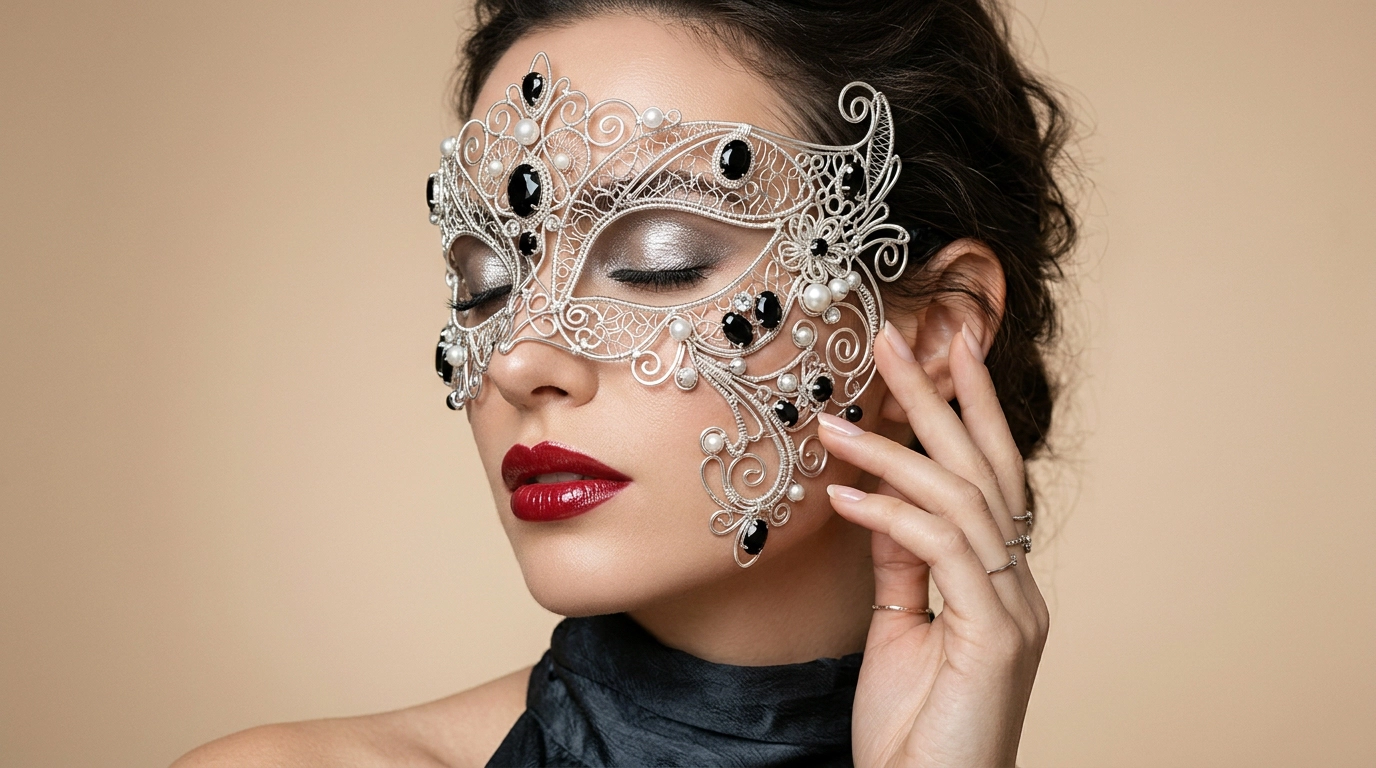
Image masking is necessary for anything with complex or fine-detail edges — delicate chains where individual links need to be preserved, pieces with flyaway threads or irregular metalwork, gemstones where a slight transparency at the edge matters to the realism of the final image. Masking uses pixel-level selection tools and edge refinement to create a selection that respects the complexity of the subject rather than forcing it into a simplified outline.
Edge refinement:
Edge refinement is where the work gets granular. After the initial path or mask is applied, checking edges at close zoom — particularly around any fine detail — and correcting any hard, artificial, or misaligned areas is essential. This is the step most amateur edits skip, and it’s immediately visible in the final image as a slight halo, a jagged line, or a background fringe that breaks the illusion of a professional result.
The finished background, typically pure white for most marketplace requirements or transparent for web use, should look like the natural home of the piece — not like it was pasted there.
Step 3 – Remove Dust, Scratches and Reflections
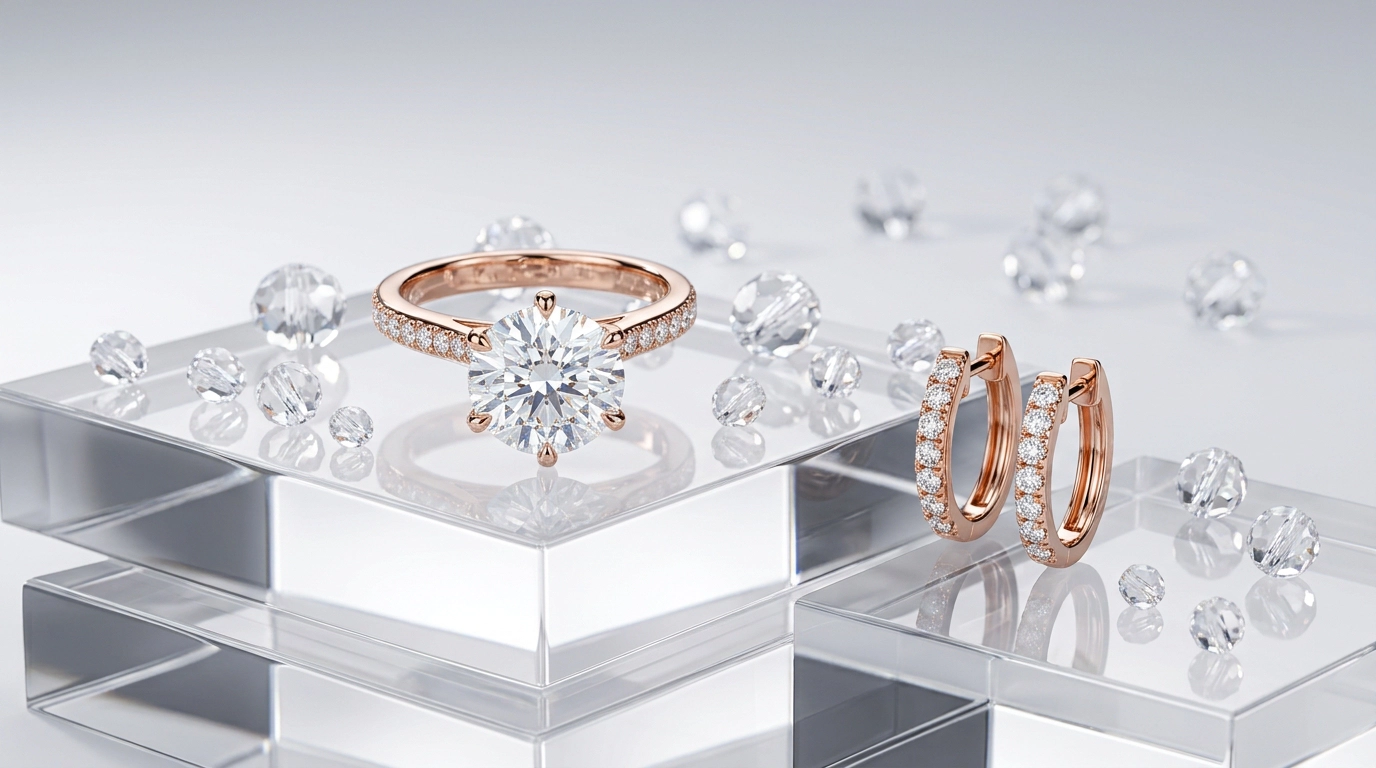
A word of context here: jewelry is essentially a collection of highly polished, highly reflective surfaces. That’s part of what makes it beautiful. It’s also what makes it an unforgiving subject to photograph, because those surfaces capture and display everything around them — including things you’d rather not see in the final image.
Removing dust:
Removing dust is painstaking work, but it’s non-negotiable for professional jewelry photo retouching. Working at 100% zoom or higher, a retoucher moves through the image systematically, using the Healing Brush or Clone Stamp tool to sample clean texture from nearby areas and paint over dust spots, micro-scratches, and surface marks. The technique requires a light touch — enough to remove the blemish, not so heavy that it disturbs the surrounding texture and produces a blurred or smudged area.
Removing unwanted reflections:
Removing unwanted reflections is a more complex challenge. Some reflections are desirable — a catchlight in a gemstone, a well-placed highlight on a polished band — because they communicate the brilliance and quality of the piece. The reflections you want to remove are the accidental ones: a studio umbrella showing up in a ring shank, a photographer’s hand reflected in a bracelet clasp, a studio ceiling appearing inside a curved metal surface.
The approach to removing reflections depends on their size and complexity. Minor reflections can often be reduced using the Healing Brush with a low opacity setting, gradually blending them into the surrounding surface. Larger, more complex reflections may require painting over using carefully sampled texture and multiple blend mode passes to integrate the correction seamlessly.
This step, combined with the previous one, is often the most time-intensive part of the entire jewelry retouching process. It’s also the one that most clearly separates professional results from amateur ones. A clean, reflection-free, pristine surface tells the customer that the piece is premium, well-made, and worth the price.
Step 4 – Correct Colors and Improve Shine
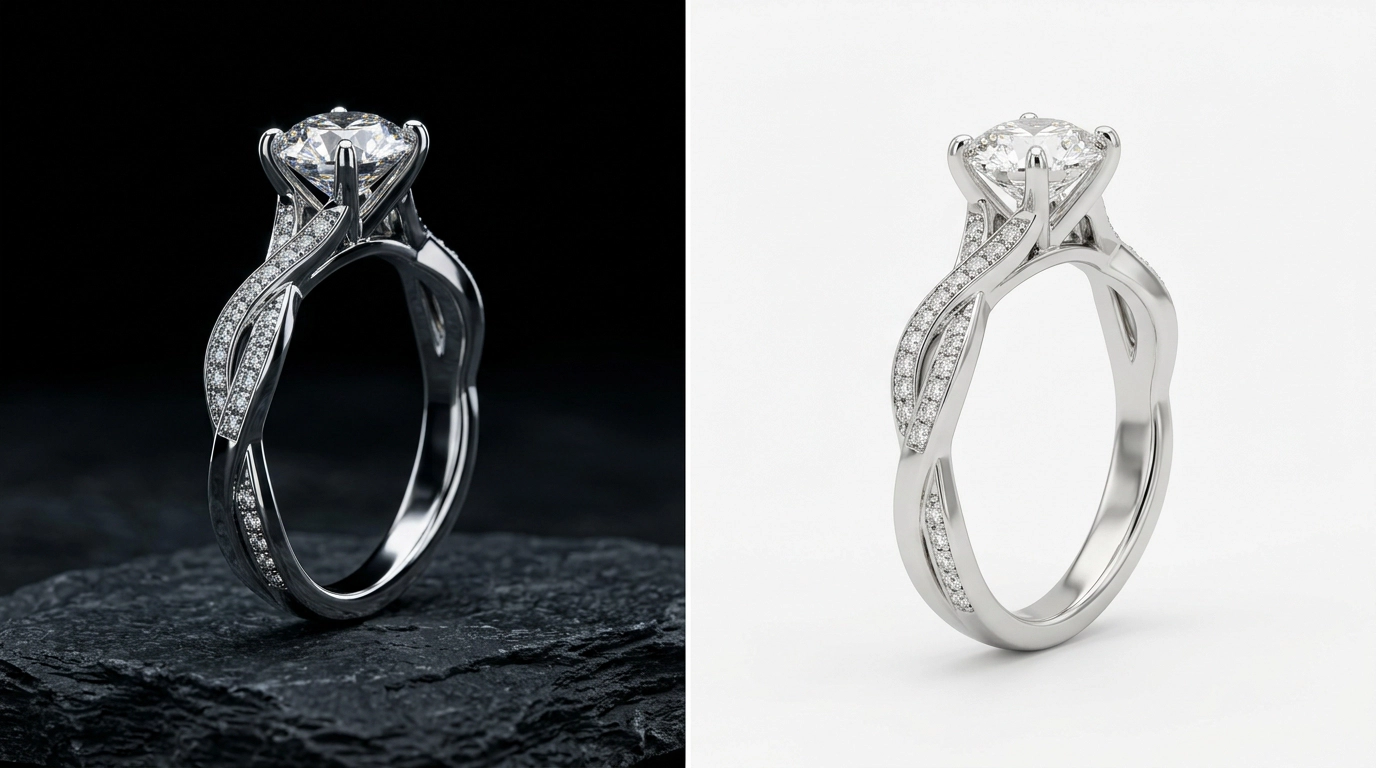
Color accuracy in jewelry editing isn’t a nice-to-have. It’s a brand integrity issue. If a customer orders a yellow gold ring based on an image and the piece they receive reads as brassy or greenish compared to what they expected, that disconnect creates returns, disputes, and a lasting negative impression of your brand. No amount of customer service work fully repairs the trust that breaks when an expectation gap like that occurs.
White balance correction:
White balance correction is where color work begins. Even with careful setup, studio lighting can introduce subtle color casts that shift the perception of metal tones. Correcting white balance in Lightroom or Capture One before moving to detailed retouching establishes an accurate foundation for everything that follows.
Metal tone refinement:
Metal tone refinement uses selective color adjustments and Hue/Saturation tools in Photoshop to ensure each type of metal reads accurately. Yellow gold should have a warm richness without tipping into orange. White gold and platinum should appear cool and clean without looking flat or gray. Rose gold has a specific blush quality that needs to be preserved without becoming too pink.
Improving shine and surface quality:
Improving shine and surface quality is achieved through controlled dodge and burn work — selectively lightening and darkening areas of the metal to sculpt the appearance of depth and reflectivity. This technique, when applied with restraint, can make a piece look like it’s sitting under ideal showroom lighting. The goal is a surface that reads as genuinely polished — alive with light — rather than simply clean.
Gemstone color enhancement:
Gemstone color enhancement for colored stones involves carefully increasing saturation in the stone while preserving the tonal variation across its facets. That variation — the way different facets of a ruby catch the light differently — is part of what makes a gemstone visually compelling. Flattening it in pursuit of uniform color actually makes the stone look less valuable, not more.
Step 5 – Enhance Diamonds and Gemstones Naturally
Diamonds are the focal point of most fine jewelry pieces, and they’re also the most technically challenging element to represent convincingly in an edited image. The visual appeal of a diamond is entirely dependent on its interaction with light — the way it disperses, reflects, and refracts across its facets. Capturing that in a still image, and then enhancing it in post, requires both technical skill and a genuine understanding of what makes the stone look real.
Diamond enhancement:
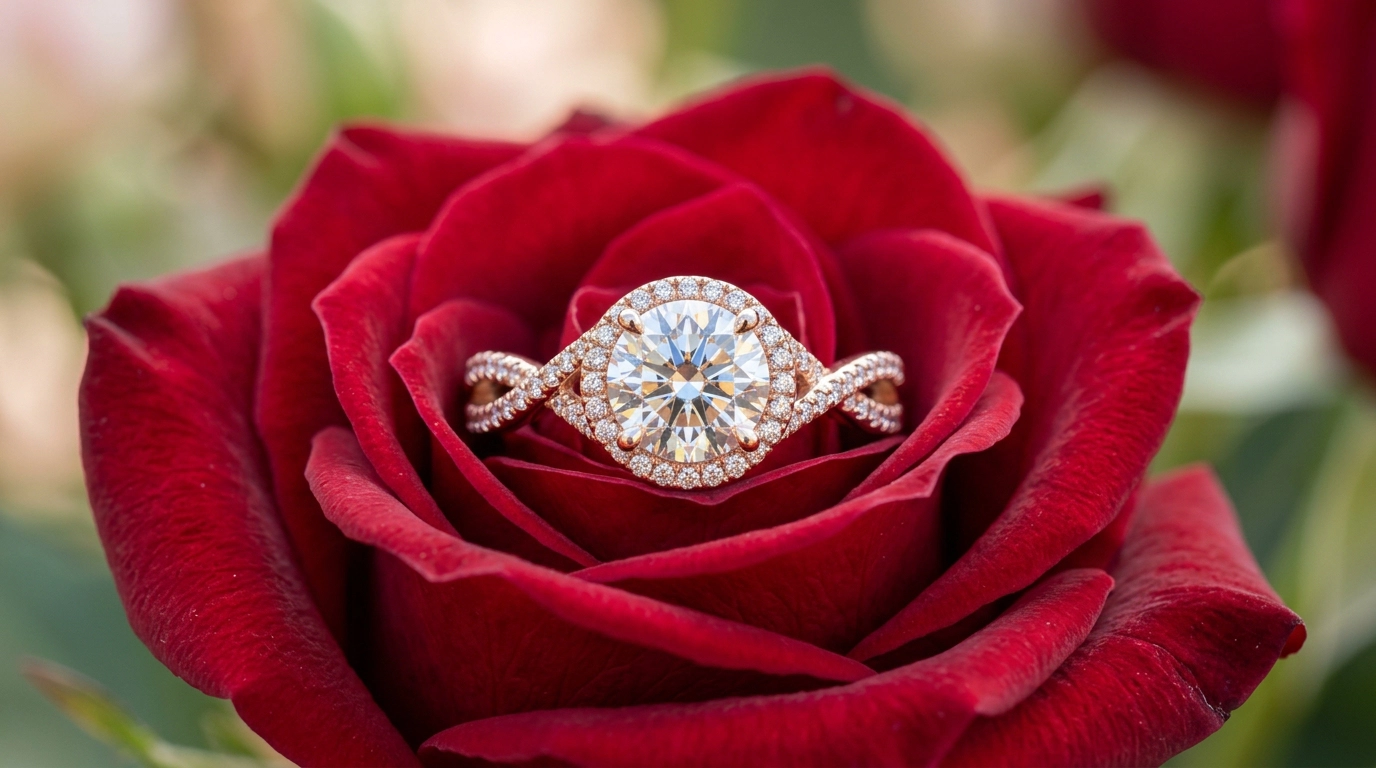
Diamond enhancement in Photoshop typically involves a combination of dodge and burn work on individual facets, selective sharpening to crisp up the interior detail, and careful adjustment of local contrast to create the sense that the stone has genuine depth and three-dimensionality.
Subtle sparkle effects — used sparingly and constructed to look like they belong in the image rather than added on top of it — can recreate the star-burst quality that diamonds show under direct light. The key word is sparingly. An over-applied sparkle effect immediately reads as clip art and signals to viewers that the editing was heavy and compensatory rather than refined and accurate.
Colored gemstone enhancement:
Colored gemstone enhancement follows the same principle: reveal what’s genuinely there rather than inventing something that isn’t. Sapphires have a depth of blue that shifts depending on the angle and the light. Emeralds have interior complexity — inclusions, color zoning — that can be part of their character rather than a flaw to be hidden. Rubies have a warmth and saturation that should communicate energy and richness.
The standard for this entire stage is simple and worth returning to: the enhanced image should look exactly like the piece would look in person under excellent lighting. No better. No worse. Just true.
Step 6 – Add Realistic Shadows
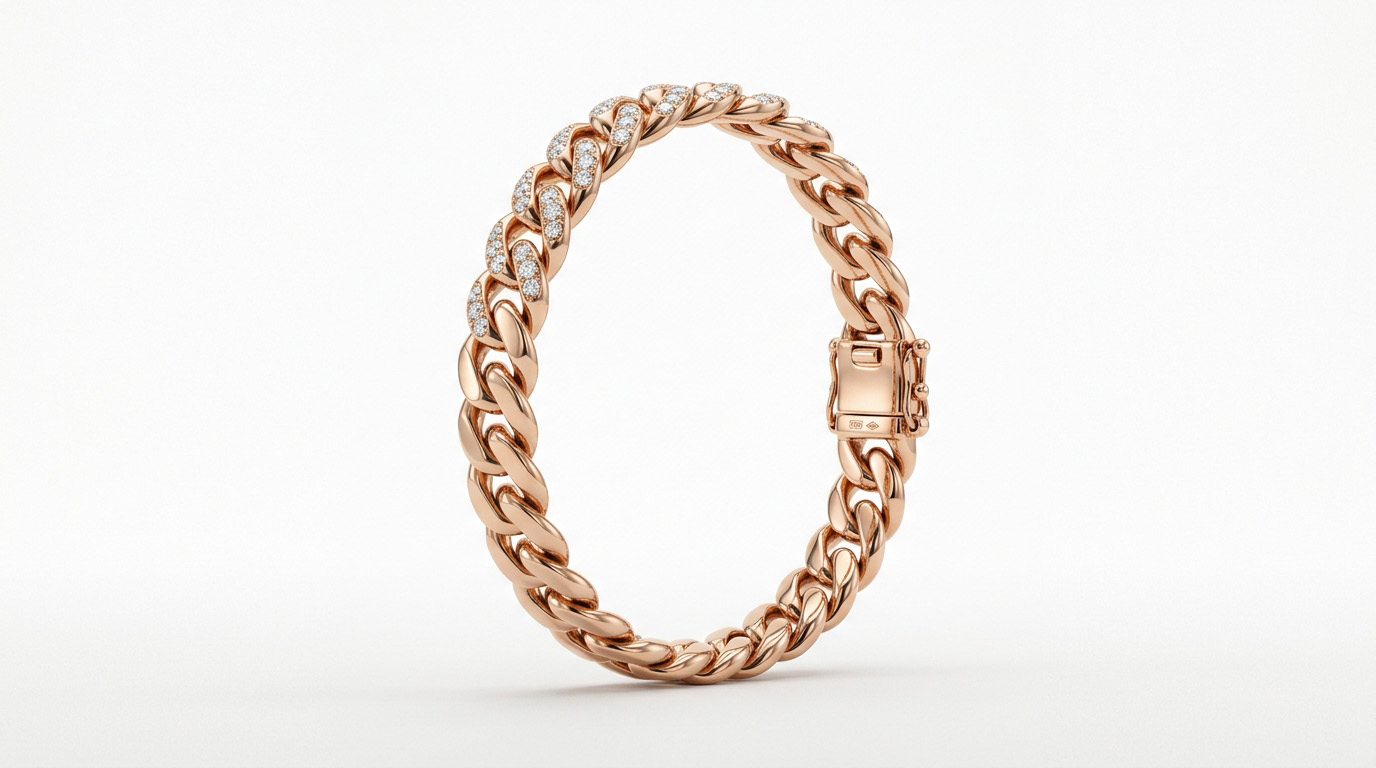
A jewelry piece floating on a white background with no shadow looks wrong. Most viewers can’t articulate exactly why — they just sense something is off. The reason is simple: we’re accustomed to seeing objects in physical space, and physical objects cast shadows. Without one, the piece looks two-dimensional, disconnected, and slightly unreal in a way that undermines the visual credibility of the entire image.
Shadows ground the product. They communicate weight, presence, and tangibility — all of which matter to a customer who is trying to form a mental model of an object they’ve never held.
Drop shadows:
Drop shadows are the most commonly used option for ecommerce jewelry. Created by duplicating the jewelry layer, flattening it to a solid shape, applying a Gaussian blur, and adjusting opacity, a well-constructed drop shadow gives the impression that the piece is resting on a surface below it. The shadow direction should be consistent with the apparent lighting in the image, and the opacity should be low enough that the shadow reads as subtle — present but not dominant.
Reflection shadows:
Reflection shadows place a soft, slightly transparent reflection of the piece directly below it, as if the jewelry is sitting on a gently reflective surface. This technique adds a premium, editorial quality that resonates particularly well in the luxury segment of the market. Done well, it feels more sophisticated than a standard drop shadow while achieving the same grounding effect.
Both techniques require patience at the blending stage. A shadow with hard edges, incorrect directionality, or too much opacity looks artificial in ways that are immediately obvious — and artificial shadows are almost worse than no shadow at all, because they call attention to themselves in a way that erodes the viewer’s trust in the image as a whole.
Step 7 – Resize and Optimize for Ecommerce
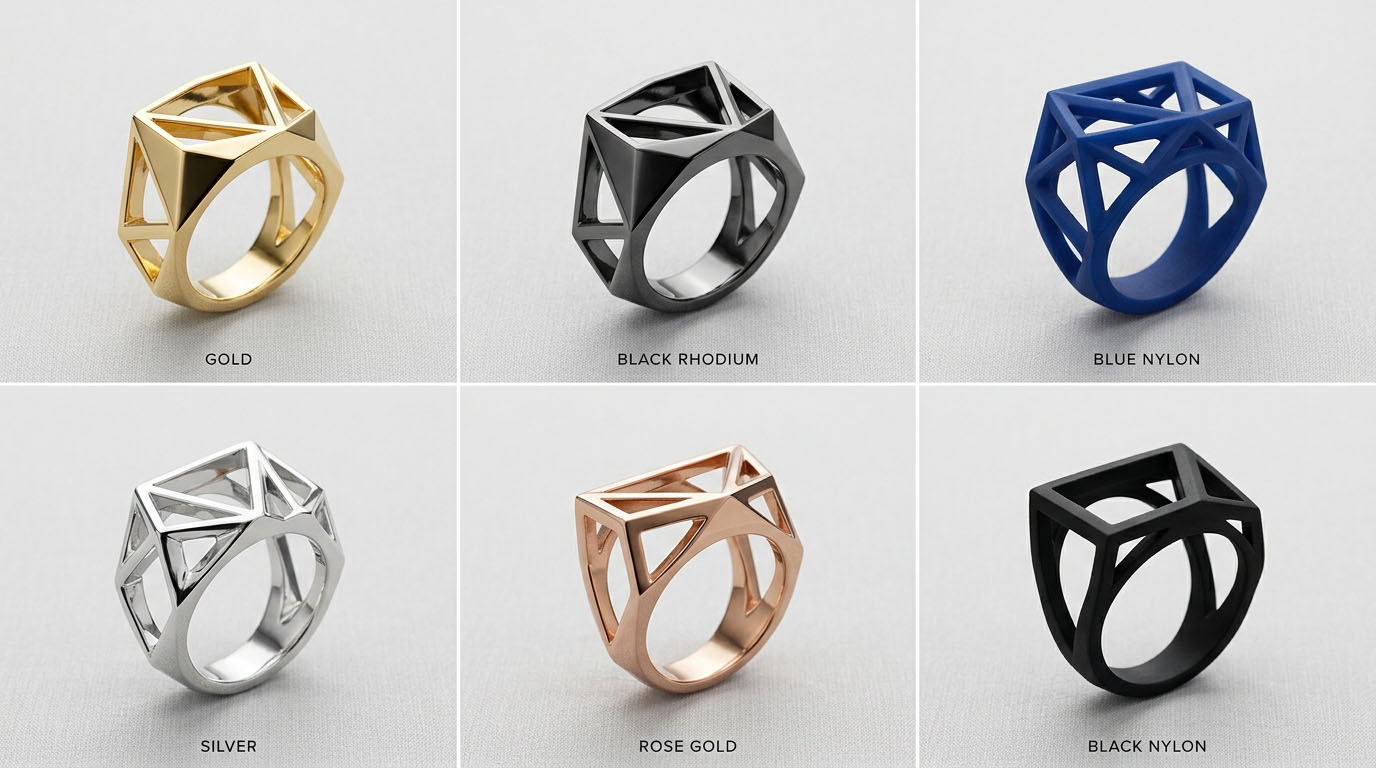
The final stage is preparing your edited images for the platforms where they’ll live. This step is often underestimated in the overall workflow, but platform-specific technical requirements are non-negotiable — submit images that don’t meet them, and you’ll see automatic cropping, compression artifacts, or display issues that undermine everything you’ve done in editing.
Amazon: Amazon requires a minimum of 1,000 pixels on the longest side to activate the hover-zoom function, and recommends 2,000 pixels or more. Zoom capability is heavily used by jewelry shoppers — it’s the closest they can get to examining a piece in detail from a distance. Main product images must be on a pure white background with no additional text or graphics.
Etsy: Etsy displays listing images at a 4:3 aspect ratio and accepts files up to 3,000 pixels on the longest side. The platform’s search algorithm favors high-quality images, and its audience tends to respond well to a combination of clean white-background product shots and contextual lifestyle images.
Shopify: Shopify stores are flexible in terms of image dimensions, but most themes display product images best at a consistent size across a catalog. A 2,048 x 2,048 pixel square is a safe and widely compatible standard. Keep in mind that Shopify applies automatic compression to uploaded images, so starting with a high-quality, well-optimized file is important to maintain visual quality at display size.
For web export, JPEG at 80–90% quality delivers an excellent balance of file size and visual fidelity for most uses. Avoid heavy compression on jewelry images — the fine detail in metal surfaces and gemstone facets degrades noticeably under aggressive compression. For images requiring a transparent background, use PNG.
Common Jewelry Photo Editing Mistakes
Even experienced editors make these. Knowing what to watch for is half the battle.
Over-smoothing surfaces: The instinct to smooth and clean up imperfections is understandable, but taken too far, it produces metal that looks like plastic and stones that look like colored glass. Real polished metal has subtle variation and texture. Removing it in editing makes the piece look cheaper, not better.
Pushing colors beyond reality: Saturation and vibrancy adjustments can make gemstones and metals pop visually, but there’s a line between enhancement and distortion. When colors no longer match what the physical piece actually looks like, you’ve created a return waiting to happen.
Lazy or absent shadows: Floating products with no shadow, or shadows that are too dark, too hard, or pointing in the wrong direction relative to the lighting in the image, both signal amateur editing and undermine the professional impression the rest of the work was trying to create.
Inconsistency across the catalog: Individual images might look excellent in isolation but feel disconnected from each other when viewed as a collection. Color temperature, white balance, shadow style, crop, and overall tone should be consistent enough across images that the catalog reads as a unified body of work.
Over-relying on AI tools: AI-powered editing tools have genuine utility for routine tasks. What they don’t have is judgment — the ability to understand a brand’s visual identity, recognize when a particular gemstone needs a different approach, or make the dozens of small, contextual decisions that produce a result that feels considered rather than processed.
Best Tips for Professional Jewelry Photo Editing
A handful of principles that consistently separate professional-quality work from merely competent work:
Edit non-destructively from start to finish:
Work on layers rather than directly on your base image. This preserves flexibility throughout the editing process and makes it possible to revisit and revise individual adjustments without starting over.
Calibrate your monitor:
Color accuracy is the foundation of professional jewelry image editing, and an uncalibrated monitor makes accurate color work effectively impossible. Use a hardware calibrator and profile your display regularly.
Evaluate at viewing size, not just at zoom:
Retouching precision requires working at 100% or higher zoom. But quality evaluation should always happen at the size and distance. At which a customer will actually view the image, zoom out regularly and check the overall impression before moving on.
Build a consistent jewelry photo editing workflow:
Moving through the same stages in the same order for every image isn’t rigid — it’s efficient. A defined workflow builds speed, reduces errors, and produces the catalog-level consistency that communicates professionalism.
Keep the physical piece nearby:
Where possible, have the actual piece of jewelry in front of you while editing. It’s the ultimate reference point, and checking your color and enhancement work against the real object keeps the editing honest.
DIY vs Professional Jewelry Editing Service
This is a practical question, and the answer depends on your specific situation rather than a universal rule.
Editing in-house makes sense:
When your catalog is small and manageable. When you have the software proficiency and time to invest in each image. And when the quality you’re able to produce in-house genuinely meets the standard your products and brand require.
A professional jewelry retouching service makes more sense:
When your catalog is large or growing quickly, when your current editing results aren’t where they need to be visually. When your team’s time is better spent on other priorities. Or when you’re preparing for a major product launch and need a high volume of images delivered quickly and consistently.
The economics tend to favor outsourcing more strongly than most business owners initially expect. Editing takes time; a complex piece can easily eat up an hour or more, and that time isn’t free. A pro editing team handles that at scale, with a workflow honed over thousands of projects. They deliver consistency that a busy in-house team can’t match.
The question isn’t really DIY versus professional. It’s: what’s the highest-value use of your time and resources right now?
Why Choose GRASIGNER for Jewelry Photo Editing
GRASIGNER handles professional jewelry photo editing for ecommerce brands and photography agencies — background removal, clipping paths. They also dust and reflection cleanup, color correction, gemstone enhancement, shadows, and platform-ready export, all under one roof.
What sets them apart is a real focus on jewelry specifically. Metal tones, gemstone rendering, and reflective surfaces demand a level of attention. Most general editing services don’t have, and that shows in the work. Whether it’s one hero shot or a catalog of hundreds of SKUs.
Fast turnaround, clear communication, and images treated as sales assets, not just deliverables — that’s the standard. Brand, agency, or solo photographer, the outcome is the same: photos that show your jewelry. As it truly is and give buyers the confidence to click “buy.”
Frequently Asked Questions
How do professionals edit jewelry photos?
Professional jewelry photo editing follows a simple workflow. Pick the best shot, clean the background, remove dust and reflections. It also correct the color, bring out the shine, add a natural shadow, and export it ecommerce-ready. Every step helps create clean, attractive product photos that look professional and accurate.
What software is best for jewelry photo editing?
Adobe Photoshop is the top choice for jewelry photo editing. Because it offers precise tools for background removal, retouching, color correction, and shine enhancement. Many professionals use Lightroom or Capture One for RAW editing before finishing in Photoshop.
How long does jewelry photo editing take?
Jewelry photo editing time depends on the image and the product’s complexity. A simple edit may take 15–30 minutes, while detailed retouching for intricate jewelry can take an hour or more. Professional editing services use efficient workflows to deliver high-quality results with fast turnaround times.
Can I edit jewelry photos without Photoshop?
Yes. Tools like GIMP, Affinity Photo, and AI photo editors can handle basic tasks such as background removal and color correction. However, for precise jewelry retouching, detailed shine enhancement, and professional-quality results, Adobe Photoshop is still the best choice.
Why do jewelry photos need retouching?
Jewelry photography is challenging because shiny metals and gemstones easily show dust, fingerprints, and unwanted reflections. Professional retouching removes these distractions, improves image quality, creates a consistent look. It helps showcase jewelry in the best possible way for ecommerce.
What is jewelry photo retouching?
Jewelry photo retouching is the process of enhancing jewelry images after a photoshoot. It includes removing dust and scratches, correcting colors, improving the shine of metals and gemstones, and adding natural shadows. The goal is to create clean, professional images that look attractive while accurately representing the jewelry.
Final Thought
Editing jewelry photos well isn’t just a technical skill it’s a business asset. The gap between a photo that shows a piece and one that sells. It comes down to how much care goes into every stage of the edit.
Selection, background removal, cleanup, color correction, gemstone work, shadows, export. Do this consistently and your images will build buyer confidence and cut down on returns caused by photos that overpromised.
For brands and agencies who want that quality without building an in-house team for it. GRASIGNER offers a straight path to consistent results at scale. Every piece of jewelry tells a story through its craftsmanship — your photos should tell it too.