Product photography involves taking high-quality photos of the products you sell. Think about it. When you shop online, you can’t pick anything up.You cannot turn it over or hold it in your hands to verify its true color. These things can only be assessed through images, and that is precisely why the success or failure of an online store depends, to a large extent, on its images.
Here’s what we’ll cover: what product photography is, why it matters, and what gear you really need. I will also show you how to shoot and edit your pictures so they look pro. We’ll get into marketplace rules, costs, and the mistakes people make all the time. Whether it’s a small shop or a big brand, there’s something here for you.
What Is Product Photography?
Let’s start with the basics. A lot of sellers think it’s just a matter of snapping a few pictures of the product. But It is a little more than that.
Definition of Product Photography
Product photography is a kind of commercial photography, and the goal is pretty simple: make people want to buy what’s in the picture. A good product photo is clear, bright, and looks like the real thing. It shows the shape, the color, the texture, and the size of the item.
Some people just call it “photos for selling,” and that’s not a bad way to think about it. You will see these photos on websites, online marketplaces, social media, catalogs, and ads.
How Product Photography Works
The process is pretty easy to follow. First, you get the product ready. Then you set up a background and some lights. After that, you shoot the item from a few different angles. Last, you edit the photos so they look clean and match each other.
Some shoots take about ten minutes. Others take days and need a whole team and a pile of props. Either way, the steps are the same.
Why Product Photography Matters for Online Businesses
In a shop, you can pick up a shirt and feel how soft or rough the fabric is.
You can hold it up to the light and read the tag. Online, you can’t do any of that. All you have is the photo, so it needs to do a lot of the work.
People judge fast on the internet. Someone scrolls past your listing in a couple of seconds. If the picture looks blurry or dull, they figure the product must be low quality too. They don’t stop and think about it. They just move on to the next shop. It isn’t fair, but that’s how people shop.
Now flip it around. When the photo looks sharp and honest, people relax. They feel like they know what they’re buying, so they stick around and keep reading. They check out the price, the size, and the reviews. A shopper who stays is a lot more likely to buy.
Honest is the key word. A photo that looks great but doesn’t match the real item causes problems. The color might be off, or the size might look bigger than it is. Then the customer feels let down and sends it back. Returns cost you money, and bad reviews can hurt even more.
A good photo builds trust before anyone spends a dime. It answers questions before shoppers have to ask them.
Why Is Ecommerce Product Photography Important for Online Businesses?
Online, product photos do the job a store used to do. They let shoppers see what they’re buying. Here is how it helps your business.
Creates a Strong First Impression
People decide fast. Most people decide in a few seconds whether to stick around on a page. The first thing they see is your main image, so make it count. If it looks clean and bright, they’ll likely stick around.
Builds Customer Trust and Confidence
Online shoppers worry a lot. They worry about getting scammed. They worry the item will show up looking nothing like the photo. Nobody likes that feeling, and it stops plenty of people from buying.
Clear, honest photos help calm those worries. When shoppers can see every detail, like the stitching, the color, and the size, they feel like they know what they’re getting. That makes them feel safer clicking “buy.”
Think of your photos as a promise. If the item matches the picture, shoppers trust you, and they’ll come back again.
Helps Increase Ecommerce Sales
Better photos bring more clicks and more orders. That makes sense when you think about it. If shoppers can see exactly what they’re getting, they don’t have much reason to leave. They feel sure about the item, so they buy.
Lots of sellers see a real jump in sales just by upgrading their main images. You don’t need to change your prices or your products. Sometimes a better photo is all it takes to turn browsers into buyers.
Reduces Product Returns
A lot of returns happen because the item looked different in real life. The color was off, or it was smaller than the buyer expected. That’s a bad surprise, and it usually ends with a refund.
You can head that off with good photos. Show the true colors and the real size. Add a few close-ups of the details, like the zipper or the fabric. Then shoppers know what to expect before they order.
Fewer surprises mean fewer returns, and that saves you real money.
Strengthens Brand Identity
Your photos tell people who you are. A bright, simple style says “modern and clean.” Warm, cozy scenes say “friendly and homey.” Shoppers pick up on that right away, even if they can’t explain why.
When all your images share the same look, people start to remember you. They might spot one of your photos while scrolling and know it’s yours before they ever see your logo. That kind of recognition takes time to build, but it keeps paying off.
Different Types of Product Photography
There’s more than one way to shoot a product. Each style below has its own job, and most stores end up using a mix of them.
Single Product Photography
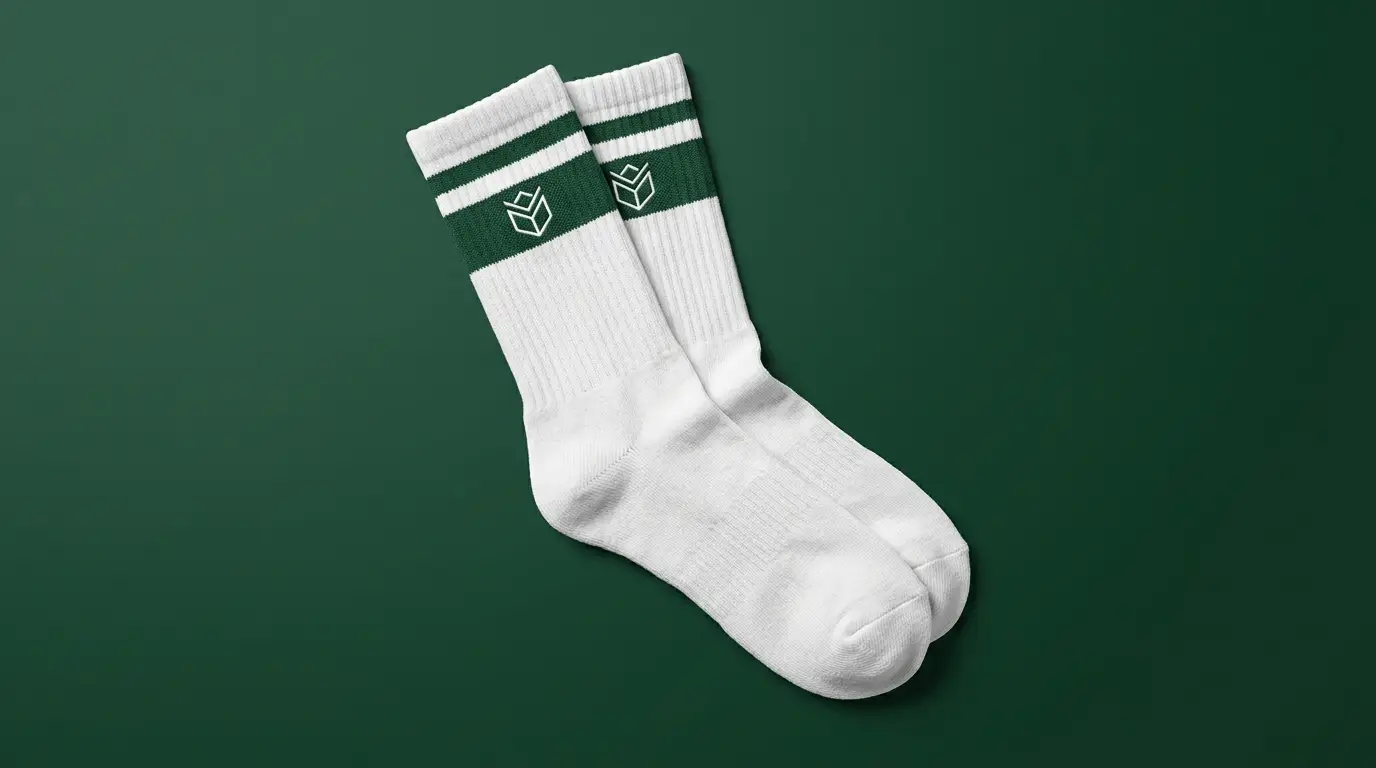
This is just one item on its own, usually against a plain background. Nothing else is in the shot, so all the attention goes to the product. It’s the most common style you’ll see on online listings, and for good reason. It’s simple, clean, and easy for shoppers to understand.
Group Product Photography

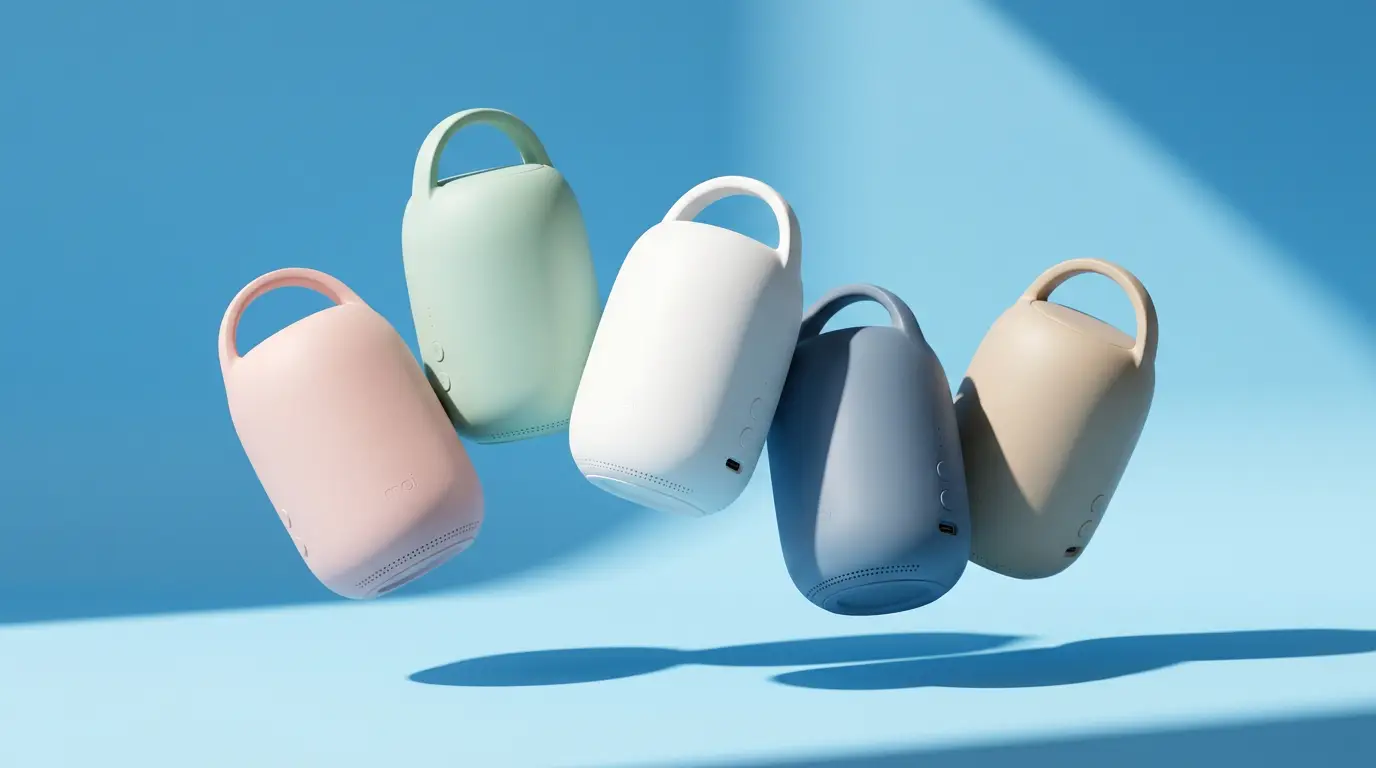
Here, you put several items in one shot. It works well for sets, bundles, or a full product line. Shoppers can see how the pieces go together, or how many colors you offer, all at once. That saves them a lot of clicking around.
Lifestyle Product Photography
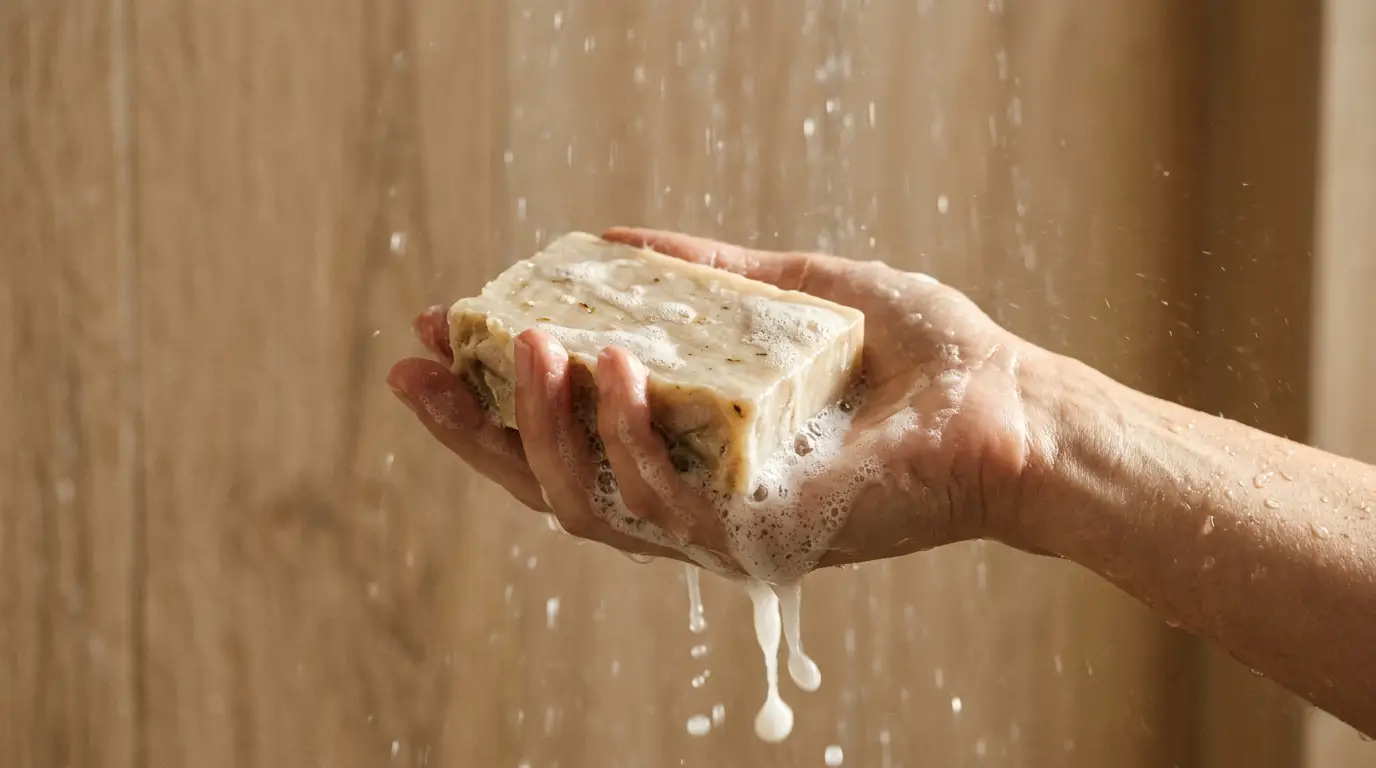
Lifestyle product photography shows the product in real use. Picture a coffee mug on a kitchen table, or a backpack on a hiker’s shoulders. These photos help shoppers imagine the item in their own lives, and that’s a big part of why people buy.
They work especially well on social media and in ads, where you need to catch someone’s eye fast. A plain white background can feel flat, but a real scene tells a little story. It makes people stop scrolling and take a second look.
Flat Lay Product Photography
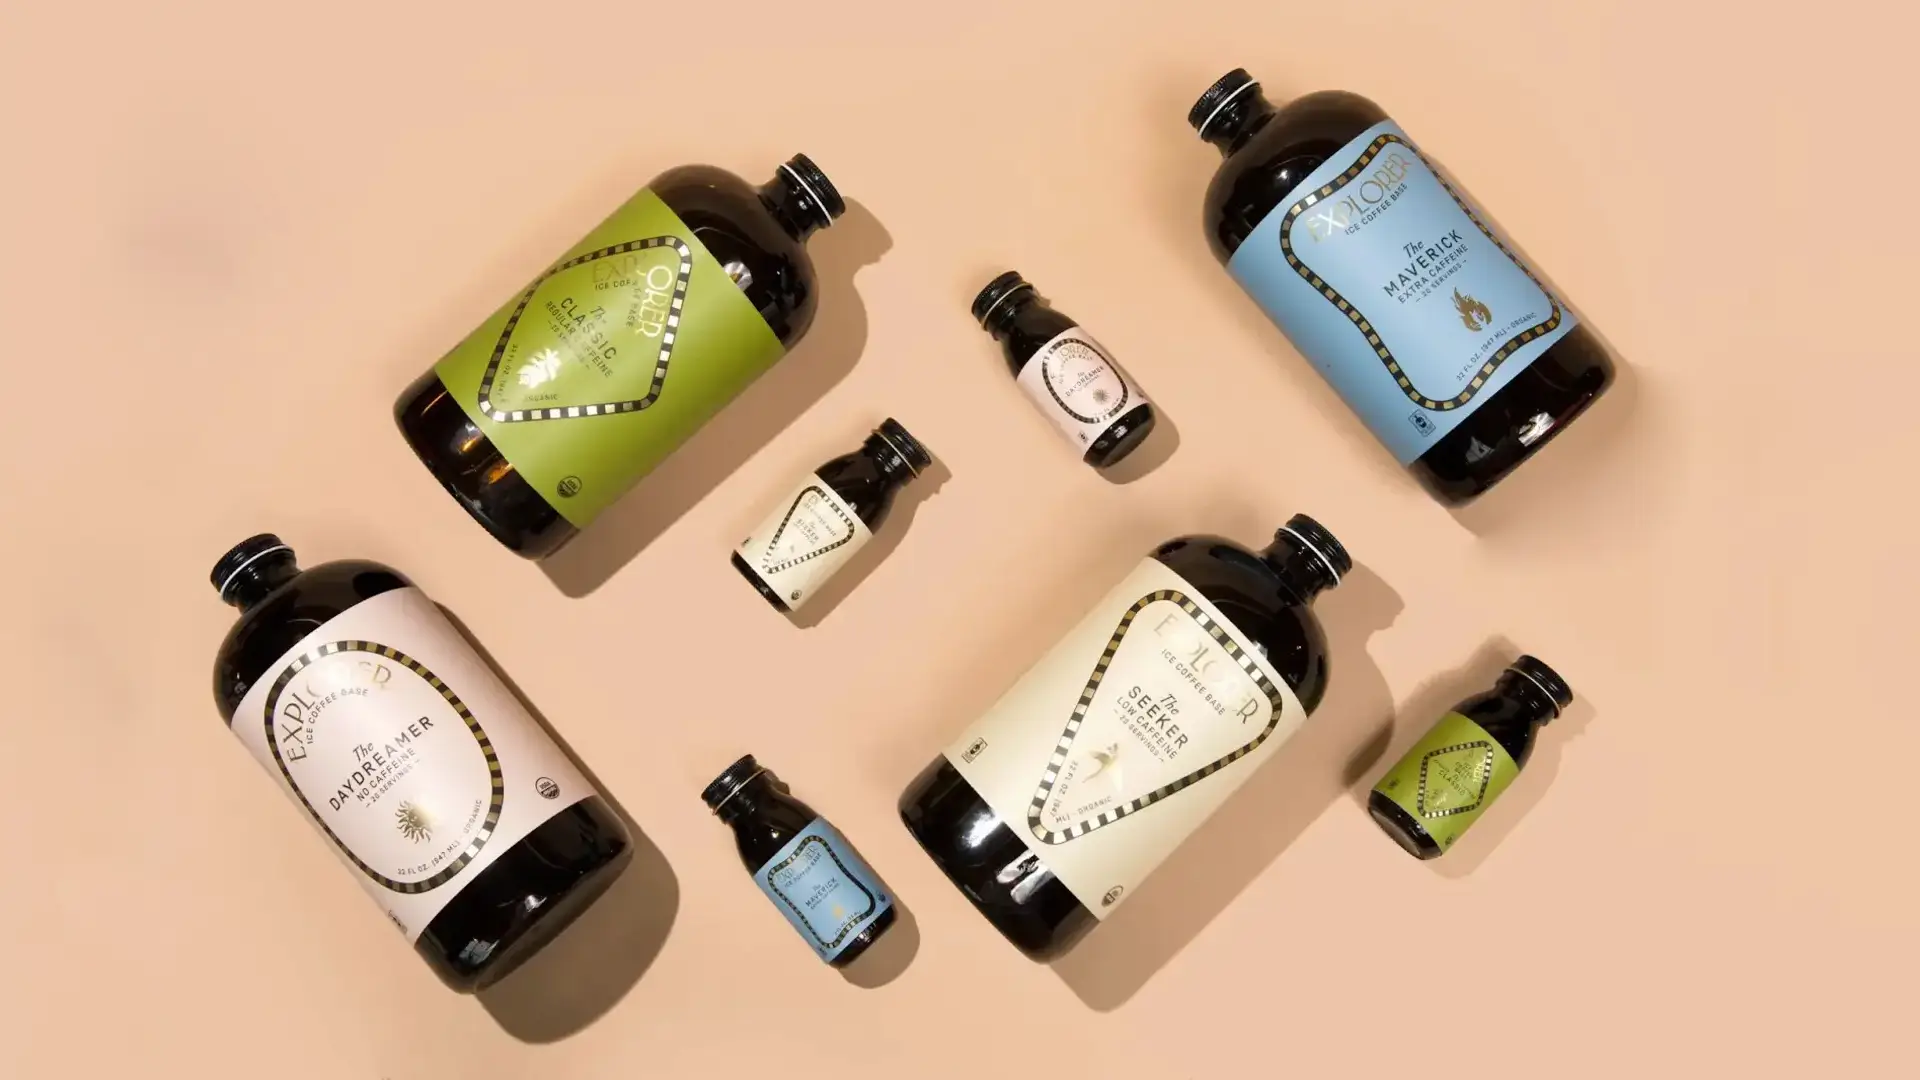
Flat lay product photography is shot from directly above. You put the items on a flat surface and arrange them in a neat pattern, then point the camera straight down. It’s a simple setup, and it looks great.
This style works well for clothing, accessories, food, and beauty products. It also lets you mix in small props, like a pair of sunglasses next to a hat, or a few flowers beside a bottle of lotion. Those little extras add color and make the whole picture feel more fun.
White Background Product Photography
This is the classic marketplace look. The product sits on a pure white background, and nothing else is in the shot. It’s clean and simple, and many marketplaces require it. It also makes your whole catalog look neat, since every photo has the same style.
Creative Product Photography
Creative shots are bold and artistic. You might use water splashes, floating items, strong colors, or odd angles. They grab attention fast, so brands love them for ad campaigns and big hero banners on a website. They’re not for every listing, but when you want people to stop and look, they work.
360-Degree Product Photography
The product spins so shoppers can see it from every side. It takes more time and gear to set up, but it gives buyers a feel close to holding the item in their hands. That’s why it’s a good fit for pricier products, where people want to look closely before they buy.
Essential Product Photography Equipment
You don’t need a big budget to get started. Still, the right gear makes your life a whole lot easier, and a few good pieces go a long way. You don’t have to buy everything at once, either. Here’s what matters most, so you know where to spend your money first.
Best Camera for Product Photography
A DSLR or mirrorless camera gives you the most control and the best quality. Look for one that lets you shoot in manual mode and save RAW files. Higher resolution helps when you need to zoom in on details. That said, a modern smartphone can still do a great job for many shops.
Choosing the Right Camera Lens
For most products, a 50mm or 100mm macro lens is a strong choice. A 50mm lens gives a natural look. A macro lens is perfect for tiny items like jewelry, because it captures fine detail. Avoid very wide lenses, since they can bend the shape of your product.
Tripods and Camera Accessories
A sturdy tripod is a must. It keeps your camera still so every photo is sharp. It also keeps your angle the same from one shot to the next. A remote shutter or the camera’s timer helps avoid tiny shakes when you press the button.
Product Photography Lighting Equipment
Good light matters more than a fancy camera. Softboxes, LED panels, and light stands are the basics. Continuous lights are easy for beginners because you see the result right away. Flash gives more power but takes more practice.
Backgrounds and Reflectors
Pick up white sweep paper, a few colored sheets, and some textured surfaces like wood or marble. A white foam board works as a cheap reflector. It bounces light into the dark side of your product and softens shadows.
How to Take Professional Product Photos (Step-by-Step Guide)
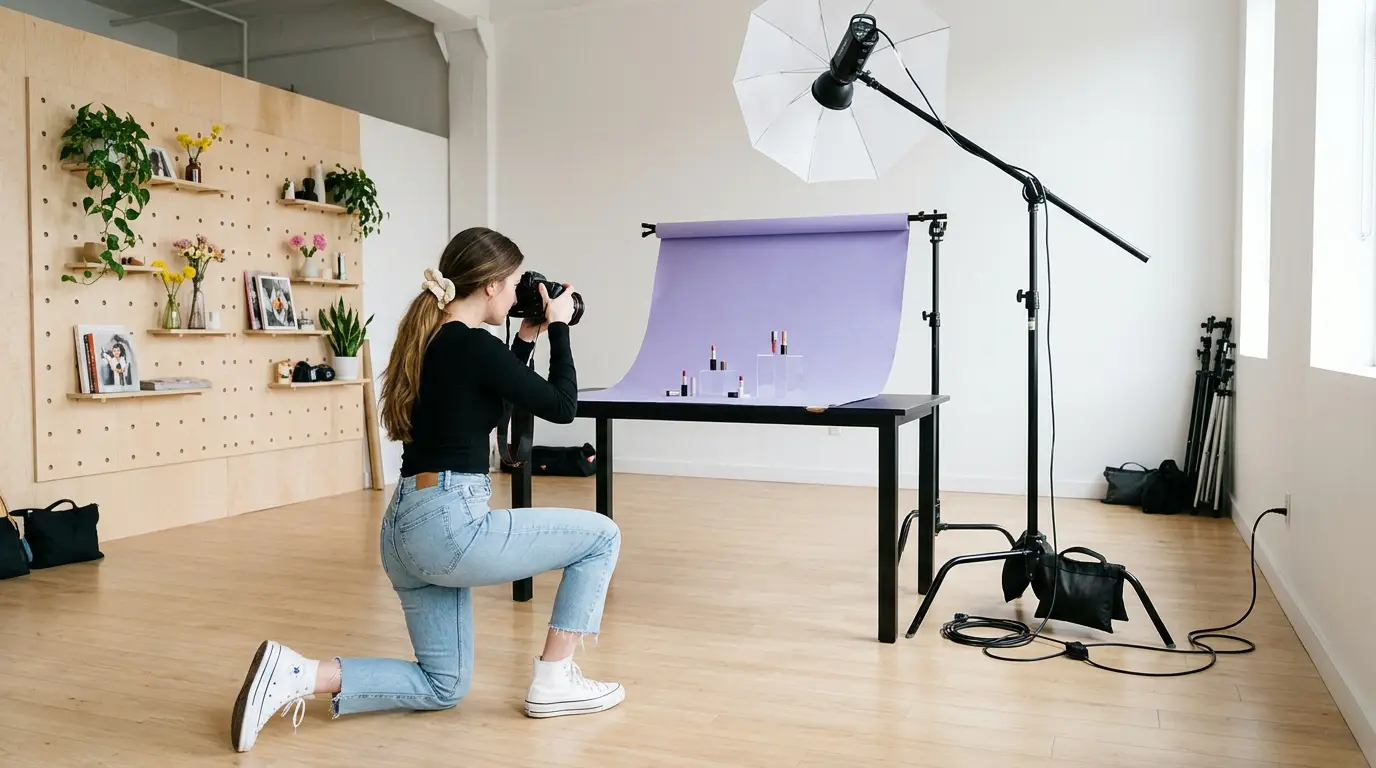
Now for the fun part. Follow these seven steps, and your photos will look more polished right away. Many of these product photography tips apply whether you use a pro camera or a phone.
Step 1: Prepare Your Products
Clean everything first. Wipe off dust, fingerprints, and smudges. Iron or steam clothing. Remove tags and stray threads. Small flaws look huge in a close-up photo, and they take much longer to fix later.
Step 2: Choose the Right Photography Background
Pick a background that makes your product stand out. For most online stores, plain white is the safest choice. If you want a more creative feel, try a soft color or a simple texture. Keep it free of clutter.
Step 3: Set Up Your Lighting
Place your light source to the side of the product, at about a 45-degree angle. Add a reflector on the opposite side to fill in the shadows. Use soft light, not harsh light. We will cover this in more detail below.
Step 4: Adjust Camera Settings
Shoot in manual mode if you can. Use a low ISO, such as 100, to keep the image clean. A mid-range aperture, such as f/8 to f/11, keeps the whole product in focus. Adjust shutter speed until the exposure looks right. Always set your white balance so colors stay true.
Step 5: Choose the Best Product Photography Angles
Shoot the front, back, both sides, top, and a few close-ups. Add a three-quarter view, which often looks the most natural. Think about what a shopper would want to check if they held the item in their hands.
Step 6: Capture Multiple Product Images
Do not stop at one shot. Take many photos from each angle. Add detail shots of textures, stitching, labels, and ports. If size is unclear, add a photo with a hand or a common object for scale.
Step 7: Edit and Retouch Your Product Photos
Editing is where good photos become great ones. Fix the brightness, adjust the colors, clean up dust, and remove the background if needed. Keep the edits light so the product still looks real.
Product Photography Lighting: How to Get Better Results

Product photography lighting is the single biggest factor in how your photos look. Get this right, and everything else gets easier.
Natural Light vs. Artificial Light
Natural light is free and soft, especially near a large window. The downside is that it changes during the day, and clouds can ruin a shoot. Artificial light gives you the same look every time, no matter the weather or the hour. If you shoot often, artificial light saves time and keeps results consistent.
How to Use Softboxes and Reflectors
A softbox spreads the light out and makes it gentle. This helps avoid hard edges on shadows. Place it close to the product for a softer effect. Then use a reflector on the other side to bounce light back and brighten the dark areas.
Best Lighting Setup for Product Photography
A simple, reliable setup uses two lights. Put one light on each side of the product, slightly in front. Add a third light above or behind it if you want to light up the background. For white backgrounds, light the background separately so it turns out pure white.
How to Avoid Harsh Shadows and Reflections
Harsh shadows come from small, hard lights. Use bigger, softer light sources and move them closer. For shiny items such as glass, metal, or glossy packaging, turn the lights so they do not bounce straight into the lens. A polarizing filter can also cut glare. Move slowly, and check your photo after each small change.
Best Backgrounds for Product Photography
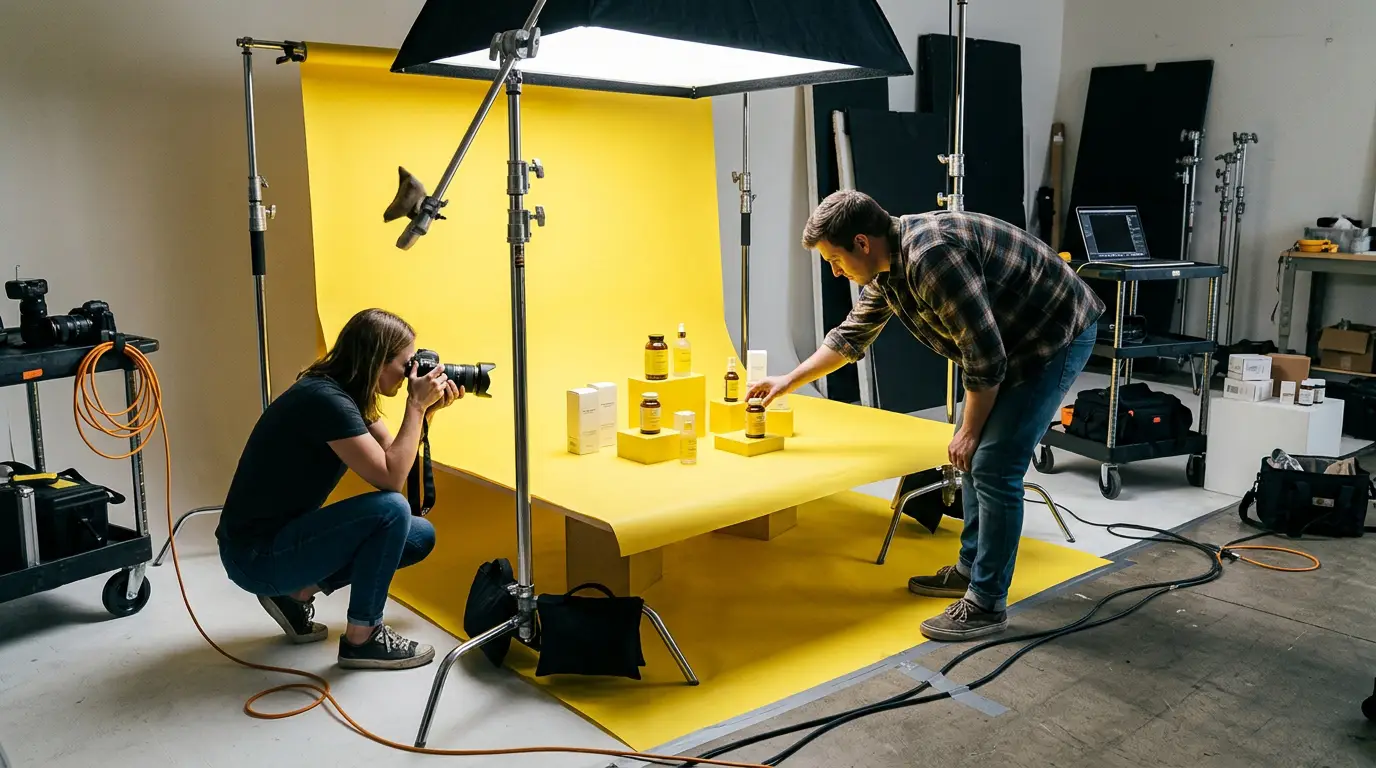
The right background keeps attention on the product. The wrong one steals it. Here are the most common options.
White Background
White is clean, bright, and widely accepted. It works for almost every product and is required by many marketplaces. It also makes editing and cutouts easier.
Black Background
Black gives a dramatic, premium look. It works well for watches, electronics, perfume, and other luxury items. Just be careful with dust, since it shows easily on black.
Colored Backgrounds
A soft color can match your brand and add personality. Pick a shade that goes with the product rather than fights it. Muted tones usually look more professional than neon ones.
Textured Backgrounds
Wood, stone, fabric, and concrete add depth and story. A candle on a wooden tray feels warm and real. Keep the texture simple, so it never competes with the item.
How to Choose the Right Background
Ask three questions. Does it make the product stand out? It match my brand? Does the marketplace allow it? If you can answer yes to all three, you have a good match. When in doubt, shoot on white and add styled shots later.
DIY Product Photography: How to Take Product Photos at Home
You can get great results at home. Many successful shops started this way.
Create a Simple Home Photography Studio
Find a spot near a big window. Set up a small table and place a sheet of white paper that curves up the wall behind it. This curve removes sharp lines between the table and the wall. Block any room lights that might change the color of your photos.
Use Your Smartphone for Product Photography
Today’s phones take sharp, clean photos. Clean your lens, turn on the grid lines, and lock the focus and exposure by tapping the screen. Use a small tripod so your shots stay steady. Avoid digital zoom, since it lowers the quality. Move closer instead.
Affordable DIY Lighting Setup
A basic setup can cost very little. Use a window with a thin white curtain as your main light. Add a white foam board as a reflector. If you need more light, a pair of cheap LED lamps with white sheets over them can work as budget softboxes.
Budget-Friendly Product Photography Ideas
Try using items you already have. A piece of poster board makes a background. A wooden cutting board makes a nice surface. Fresh flowers, cloth napkins, and books can all work as props. Keep it simple and let the product lead.
Common DIY Product Photography Mistakes
The most common problems are dim light, messy backgrounds, shaky shots, and mixed light colors. Using the built-in flash is another big one. Fix these four things, and your photos will improve fast.
Product Photo Editing and Retouching: How to Make Your Images Look Professional
Even great shots need some polish. Product photo editing turns a good photo into one that is ready to sell. This is also where a lot of online sellers choose to get outside help.
Why Product Photo Editing Is Important
Editing makes your images clean, bright, and consistent. It fixes small flaws you could not avoid during the shoot. It also makes a whole catalog look like it came from one brand, which builds trust.
Background Removal and White Background Editing
Many sellers need a pure white or transparent background. That takes careful cutting around the edges of the product. A professional Background Removal Service can handle hundreds of images quickly, with clean edges even around hair, fur, and fine details.
Color Correction and Image Enhancement
Color is a big reason for returns. If the shirt in the photo looks blue and arrives teal, you will hear about it. Color correction fixes this by matching the photo to the real product. Enhancement then adjusts brightness, contrast, and sharpness.
Shadow Creation and Reflection Effects
When you remove a background, the product can look like it is floating. A natural shadow or a soft reflection brings it back to the ground. Done well, it adds depth and makes the image look more real.
Product Image Retouching
Retouching removes dust, scratches, wrinkles, and stray marks. It can also smooth out small flaws in jewelry, glass, and electronics. The goal is a clean product that still looks honest. Over-editing can cause problems, so keep it believable. For bigger changes, an Image Manipulation Service can combine multiple images or build custom scenes.
Ghost Mannequin and Clipping Path Editing
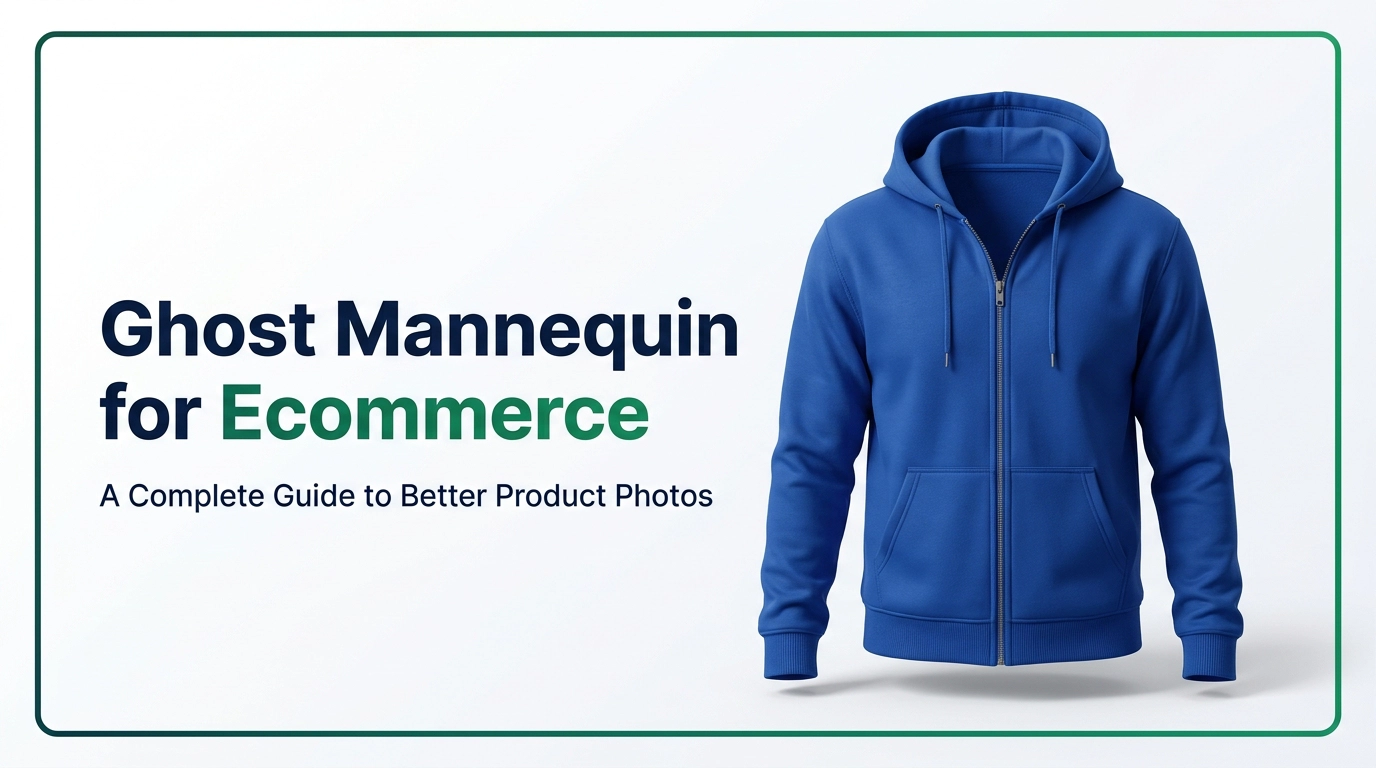
Fashion sellers often use the ghost mannequin look. The clothes appear to be worn by an invisible body, with no model needed. A professional Ghost Mannequin Service joins the front and inside views into one clean image. For products with many parts or colors, a Multi-Clipping Path Service cuts each section separately, so you can change colors or edit one area without touching the rest. If you want everything handled in one place, look for a reliable product photo editing partner.
Product Photography Requirements for Ecommerce Marketplaces
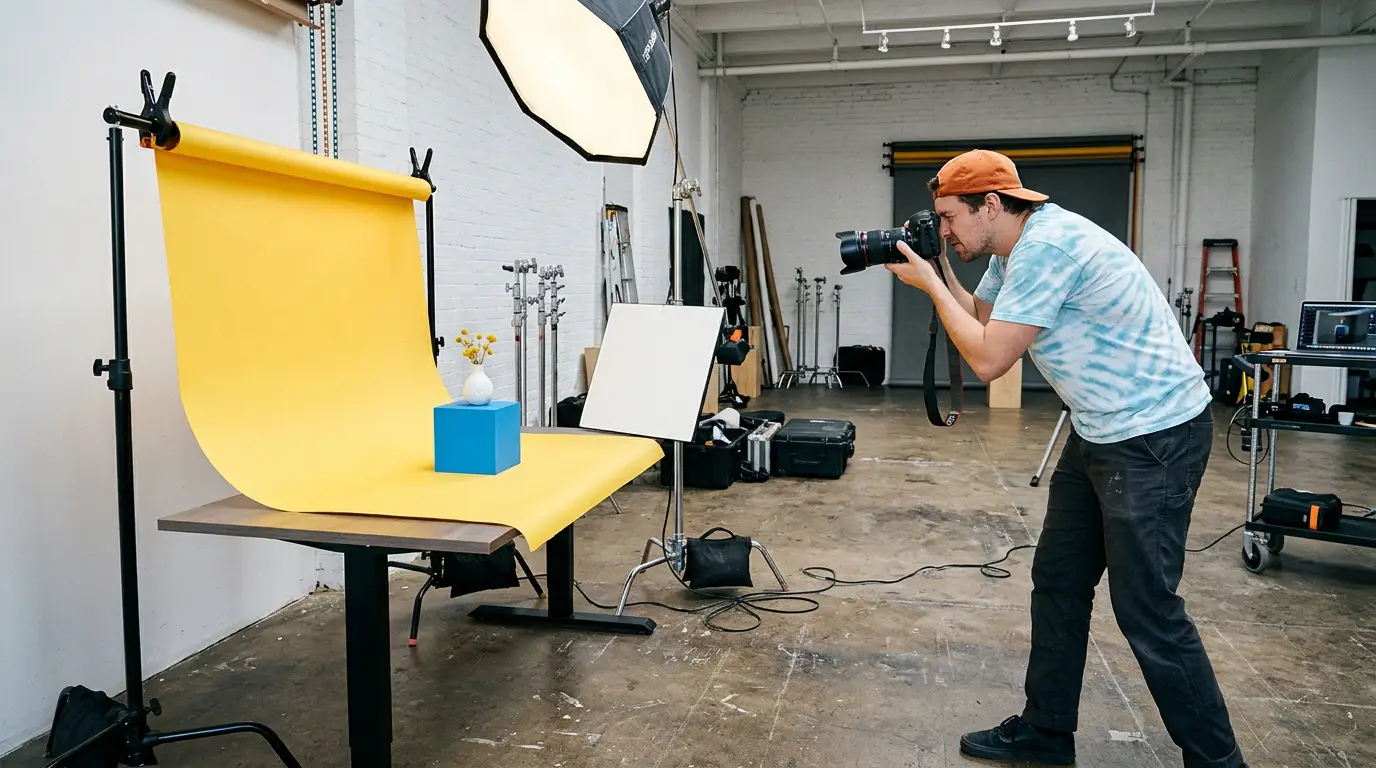
Every marketplace has its own rules. Always check the latest guidelines before you upload, since they can change.
Amazon Product Photography Requirements
Amazon asks for a pure white background for the main image. The product should fill most of the frame. Images need to be high resolution so shoppers can zoom in. Text, logos, and extra graphics are generally not allowed on the main image. Additional images can show lifestyle scenes and details.
eBay Product Image Guidelines
eBay gives sellers more room, but it still wants clear, large, well-lit photos. Use a clean background and show the real item you are selling. Add several angles, especially for used products, so buyers can see the true condition.
Shopify Product Photography Guidelines
Shopify does not force one style, so consistency is up to you. Use the same image size, background, and lighting across your store. Square images often look tidy in grids. Compress your files so your pages load fast.
Etsy Product Photography Tips
Etsy shoppers love warmth and personality. Lifestyle shots work very well here, along with close-ups that show handmade details. Make sure your first image is clear at a small size, because it appears in search results.
How to Optimize Product Images for Ecommerce Websites
Fast pages sell better, and Google likes them too. Compress your images without losing quality. Use modern formats like WebP when you can. Give each file a clear name, such as “blue-leather-wallet.jpg,” not “IMG_4021.jpg.” Add simple alt text that describes the image. This helps shoppers who use screen readers and helps search engines understand the picture.
How Much Does Product Photography Cost in 2026?
The product photography cost depends on many things. The answer can range from almost free to thousands of dollars.
Average Product Photography Pricing Factors
Several factors change the price. These include the number of products, the number of images per product, the shooting style, and the amount of editing. Props, models, and location also add cost. Rush orders cost more, too. Some studios charge per image, and others charge by the hour or by the day.
DIY vs. Professional Product Photography Costs
DIY has a low upfront cost. You may spend a little on a tripod, lights, and backdrops. But you also spend your time, which has value. Professional photography costs more per image, but it saves time and often produces a stronger result. For many shops, the extra cost pays for itself in sales.
Product Photography Studio Pricing
Studios often charge per photo. Simple white background shots cost the least. Lifestyle and creative shots cost more, since they need styling and more time. Ask what is included, such as editing, file formats, and how many revisions you get.
Product Photo Editing Costs
Editing is often priced per image, and the price depends on the task. Simple edits like basic cleanup cost less. Complex work like detailed retouching, multi-path cutouts, or ghost mannequin joins costs more. Bulk orders usually get better rates.
How to Choose a Service Within Your Budget
Start by deciding what you really need. You may only need clean white background photos for your catalog, and that is fine. Ask for a small sample before you commit. Compare quality, turnaround time, and total price. The cheapest option is not always the best one, and neither is the most expensive.
DIY Product Photography vs. Hiring a Professional Photographer
Should you do it yourself or hire someone? Both choices can work. It depends on your goals, your time, and your budget.
Benefits of DIY Product Photography
DIY gives you full control and low cost. You can reshoot any time. It is a great way to start, test new products, and learn what your customers like. It also lets you shoot fast when you launch something new.
Benefits of Professional Product Photography
Professionals bring experience, better gear, and a trained eye. They know how to light tricky items like glass and metal. Their work is usually more consistent. They also save you time, so you can focus on running your business.
When Should You Hire a Professional?
Hire a pro when your catalog is large, when your products are hard to shoot, or when your brand needs a premium look. It also makes sense for big launches, ad campaigns, and high-priced items. If you keep running out of time, that is another sign.
Which Option Is Better for Your Ecommerce Business?
There is no single right answer. Many businesses mix the two. They shoot simple photos in-house and hire pros for key products. Another popular choice is to shoot yourself and send the files to an editing team. That way you control the shoot and still get a polished final result.
Common Product Photography Mistakes to Avoid
Even experienced sellers slip up. Watch out for these common mistakes.
Poor Lighting
Dark, uneven, or harsh light makes a product look cheap. Use soft, even light and check for shadows before you shoot the whole batch.
Distracting Backgrounds
A messy background pulls attention away from your product. Remove clutter, wrinkles, and random objects. Keep the focus where it belongs.
Incorrect Product Colors
Wrong colors cause returns and angry reviews. Set your white balance, use the same light for every shot, and compare your photo to the real item on screen.
Low-Resolution Images
Blurry or pixelated photos hurt trust. They also prevent zoom on many marketplaces. Shoot in high resolution and save your files at a good size.
Over-Editing Product Photos
Too much smoothing, too much saturation, or fake-looking shadows can make a product look unreal. Shoppers notice. Keep your edits natural.
Inconsistent Image Quality
If some photos are bright and others are dull, your store looks messy. Use the same setup, angles, and editing style for every product. Consistency tells shoppers you are a serious seller.
Frequently Asked Questions About Product Photography
1. What is product photography?
Product photography is the practice of taking clear, appealing images of products for selling. These photos are used on websites, marketplaces, social media, and in ads. The goal is to show the product honestly and make people want to buy it.
2. How do you take professional product photos?
Prepare and clean your product, choose a simple background, and set up soft lighting. Use a tripod, shoot from several angles, and capture close-ups. Then edit the images to fix color, remove dust, and keep a consistent look.
3. What equipment do you need for product photography?
At a minimum, you need a camera or a smartphone, a tripod, a background, and good light. Softboxes, reflectors, and a macro lens are helpful extras. You can start with simple tools and upgrade over time.
4. What is the best lighting for product photography?
Soft, even light works best. Natural window light is a great free option. For consistent results, use two softboxes placed at the sides, plus a reflector to fill in shadows.
5. Can I take product photos with my smartphone?
Yes. Modern phones take high-quality photos. Use a tripod, clean the lens, lock focus and exposure, and shoot near a window. Then edit your photos to make them look clean and consistent.
6. How much does professional product photography cost?
It varies. Prices depend on the number of products, the type of shots, editing needs, and the studio you pick. Simple white background photos cost the least, while lifestyle and creative shoots cost more. Ask for a quote based on your exact needs.
7. What is the best background for product photography?
White is the safest and most popular choice, especially for marketplaces. Colored or textured backgrounds work well for lifestyle and brand shots. Pick the one that makes your product stand out.
8. Why is product photography important for ecommerce?
Online shoppers can’t touch or try a product, so photos do the selling. Strong images build trust, raise sales, lower returns, and help your brand look professional.
9. How do you edit product photos professionally?
Start with basic fixes like brightness, contrast, and color. Then clean the image by removing dust and flaws. Remove or replace the background, add natural shadows, and export in the right size and format. You can also outsource this work to an editing team.
10. How many product photos should an online store have?
Most products do well with five to eight images. Include a main shot, several angles, a detail close-up, a scale shot, and a lifestyle image. Complex or high-priced products may need more.
Final Thoughts: Create Better Product Photos for Your Ecommerce Business
Product photography is one of the smartest investments an online seller can make. Great photos catch attention, build trust, and help shoppers feel sure about their choice. They also lower returns and make your brand look professional.
Quality editing is just as important as the shoot itself. Clean backgrounds, true colors, and natural shadows turn raw photos into images that sell. The final polish is often what separates a good store from a great one.
Also, keep your images consistent. Use the same style, lighting, and editing across your catalog. Shoppers trust stores that look organized and complete.
If you want help with the editing side, GRASIGNER is here for you. We offer background removal, retouching, ghost mannequin, clipping paths, and more, so your photos are ready to sell. Whether you need one image or thousands, our team can handle product photography services that fit your workflow and budget.
Ready to see the difference? Start your free trial with GRASIGNER today and get your product photos looking their best.